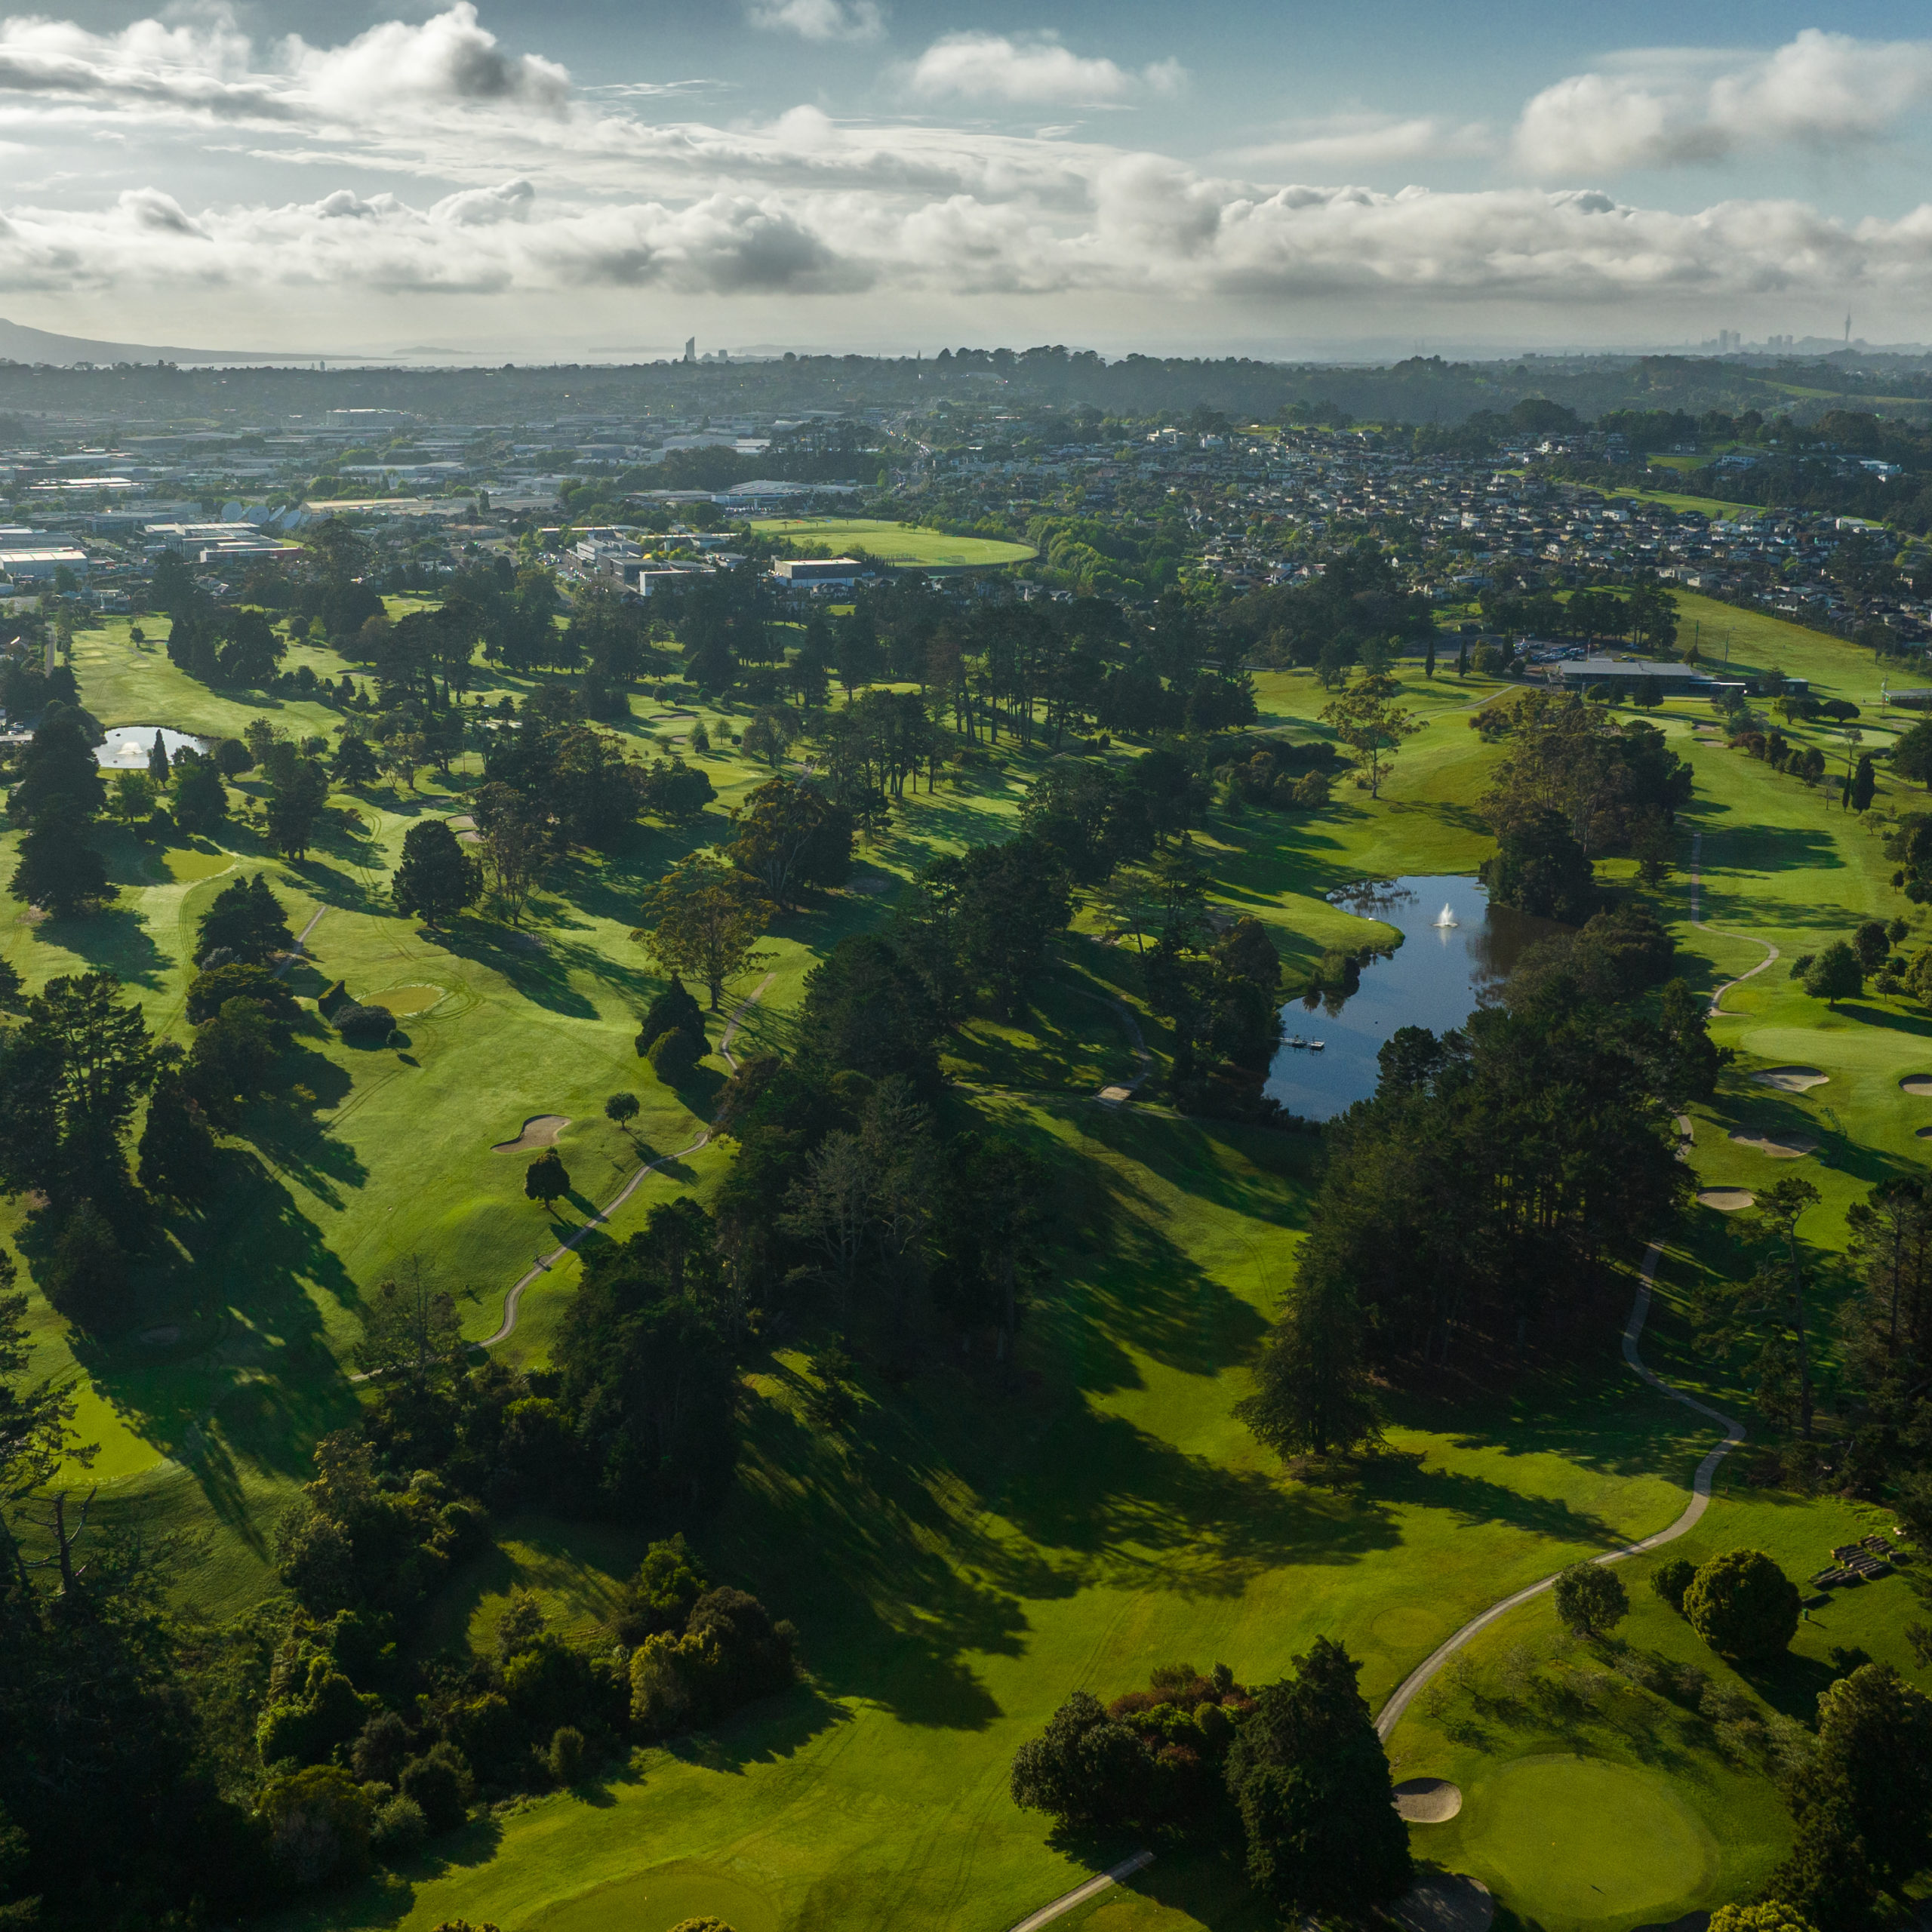
Three wonderful yet different
layouts combine to bring some of
the best golfing in Auckland.
27 holes / 3 courses
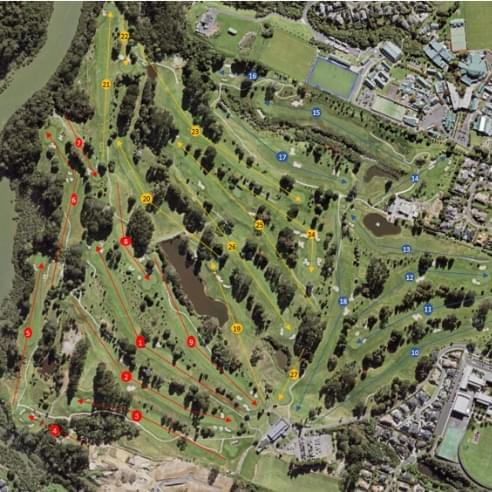
Red Course
The Red course includes holes 1 to 9 and stretches along the banks of Lucas Creek, granting spectacular views and gameplay. Players move to the high side of the property for the second nine.
Blue Course
Stimulating and challenging, the Blue course encompasses holes 10 to 18. It weaves through the native trees on the upper part of the property. Players move to the centre of the property for the second nine.
Gold Course
The Gold course consists of holes 19 to 27. The rolling contours on the Gold course are not to be missed. Players move to hole 1 to start their second nine.

Hole 1 is the longest par-5 on the course. The preferred drive is down the left-hand side to allow room to negotiate around the dogleg right. The premium position to approach the green is from the left side of the fairway, which will take the front bunker out of play. The positioning of the tee shot is all-important.
Hole 1
Par 5 514 Meters

The preferred tee shot is at the left-hand side bunker. The second shot will fall from left to right, with the contour of the fairway. The right side is the best location to approach the green. Keep your approach to the pin below the hole.
Hole 2
Par 5 472 Meters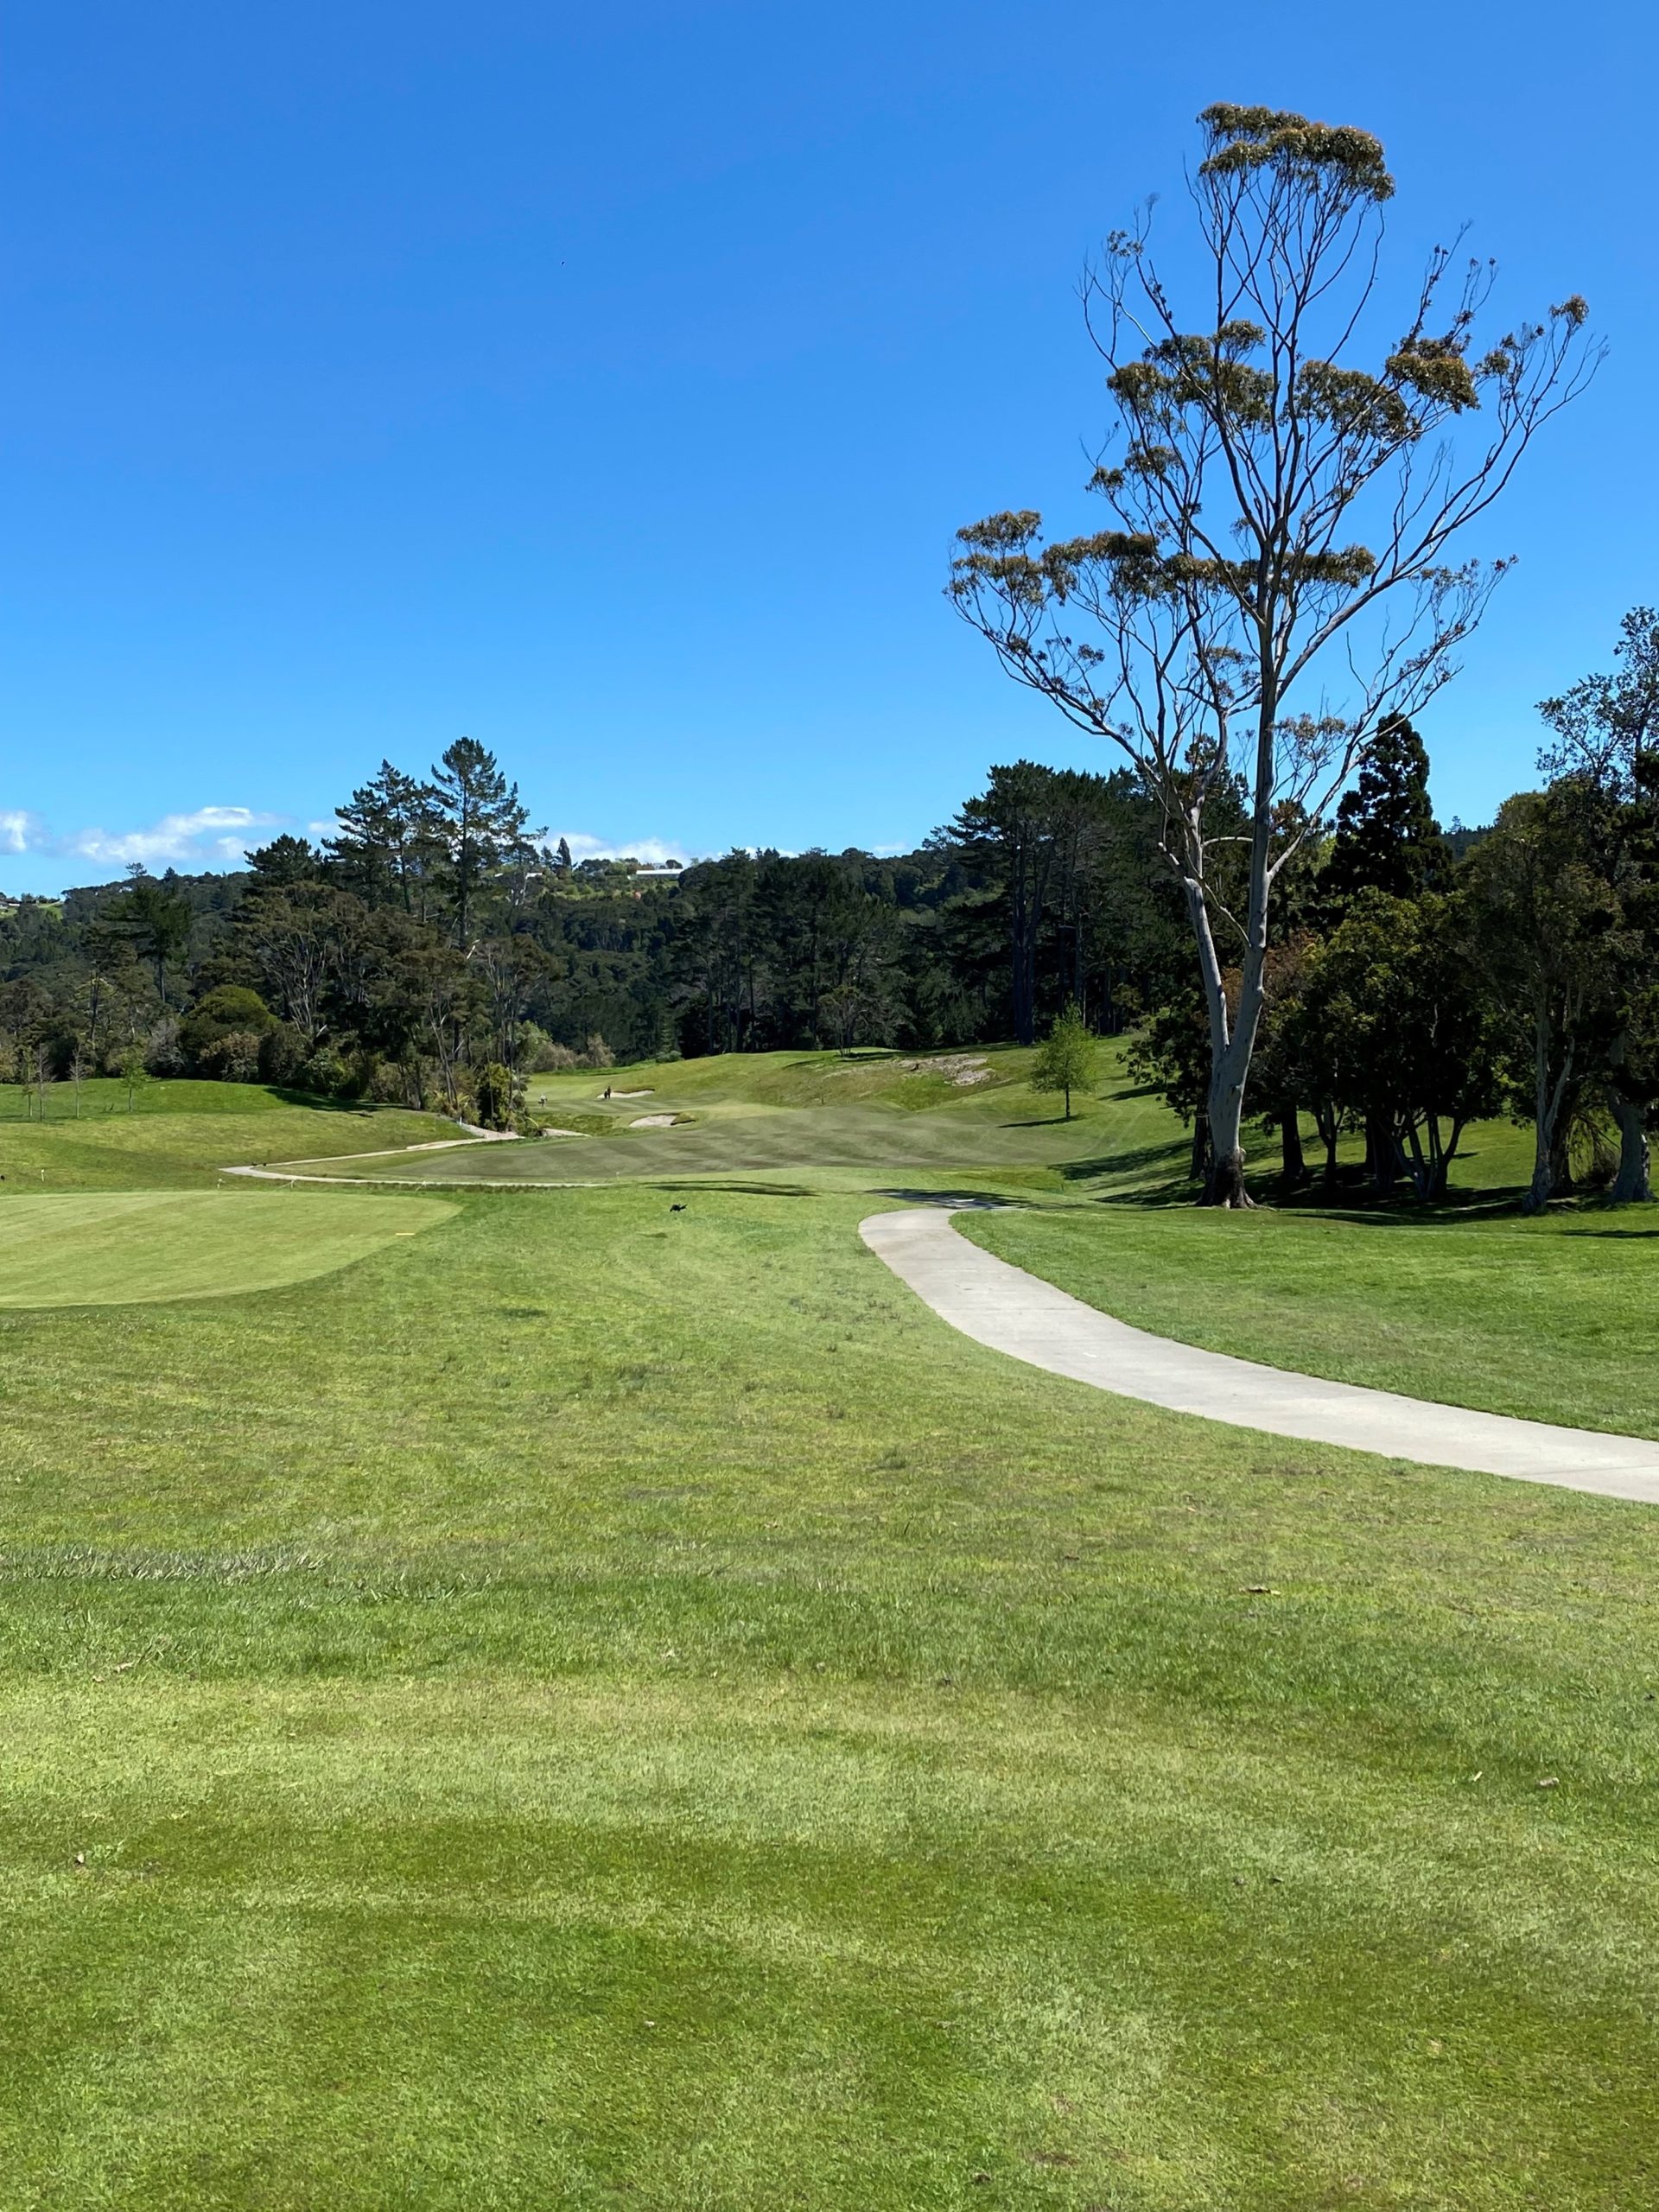
While not a long hole from the white tees, beware of the out-of-bounds area on the left, from the right side of the path. The preferred tee shot leaves you short of the fairway bunker on the left but not too long to hit the undulating green which is protected by a bunker on the right and a slope to the path and out-of-bounds on the left.
Hole 3
Par 4 346 Meters

This hole, while relatively short, is protected by a false front and bunkers left, right, and back. Club selection is key on this downhill par-3.
Hole 4
Par 3 137 Meters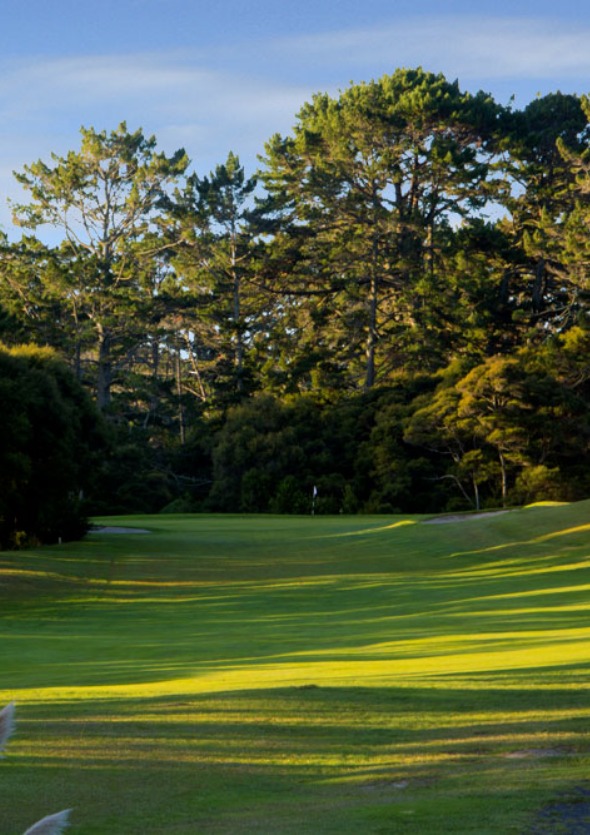

The contour at the tee shot landing area will take the ball left, particularly in summer when drier conditions come into play. Longer hitters should consider an iron off the tee, leaving a short iron to the green. The distance for the second shot can be deceptive. Players may wish to allow for one extra club.
Hole 5
Par 4 335 Meters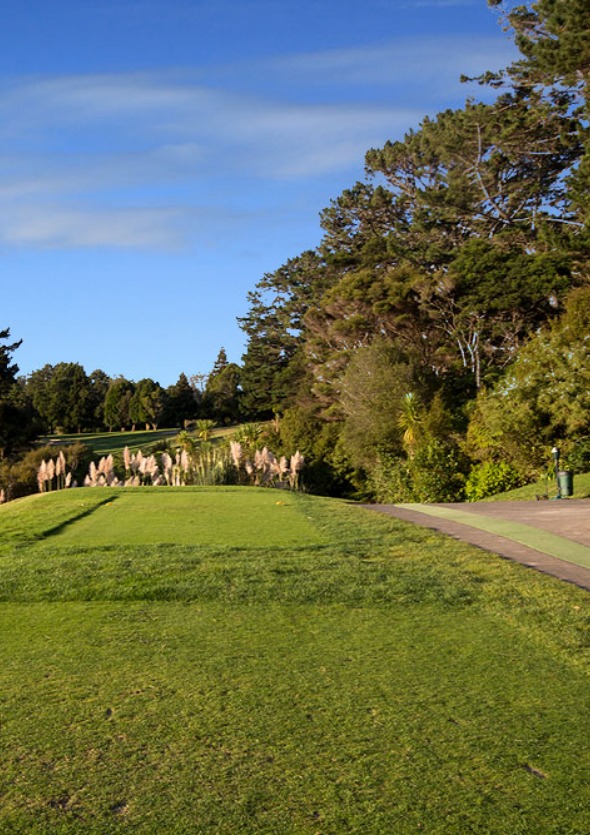

Hole 6 is a testing par-4 that demands a reasonably long and well-placed tee shot. Any drive short and left will be on the path of the large pine tree guarding the corner. Any approach landing over the green will be in trouble. It is out-of-bounds along the contours right to left.
Hole 6
Par 4 343 Meters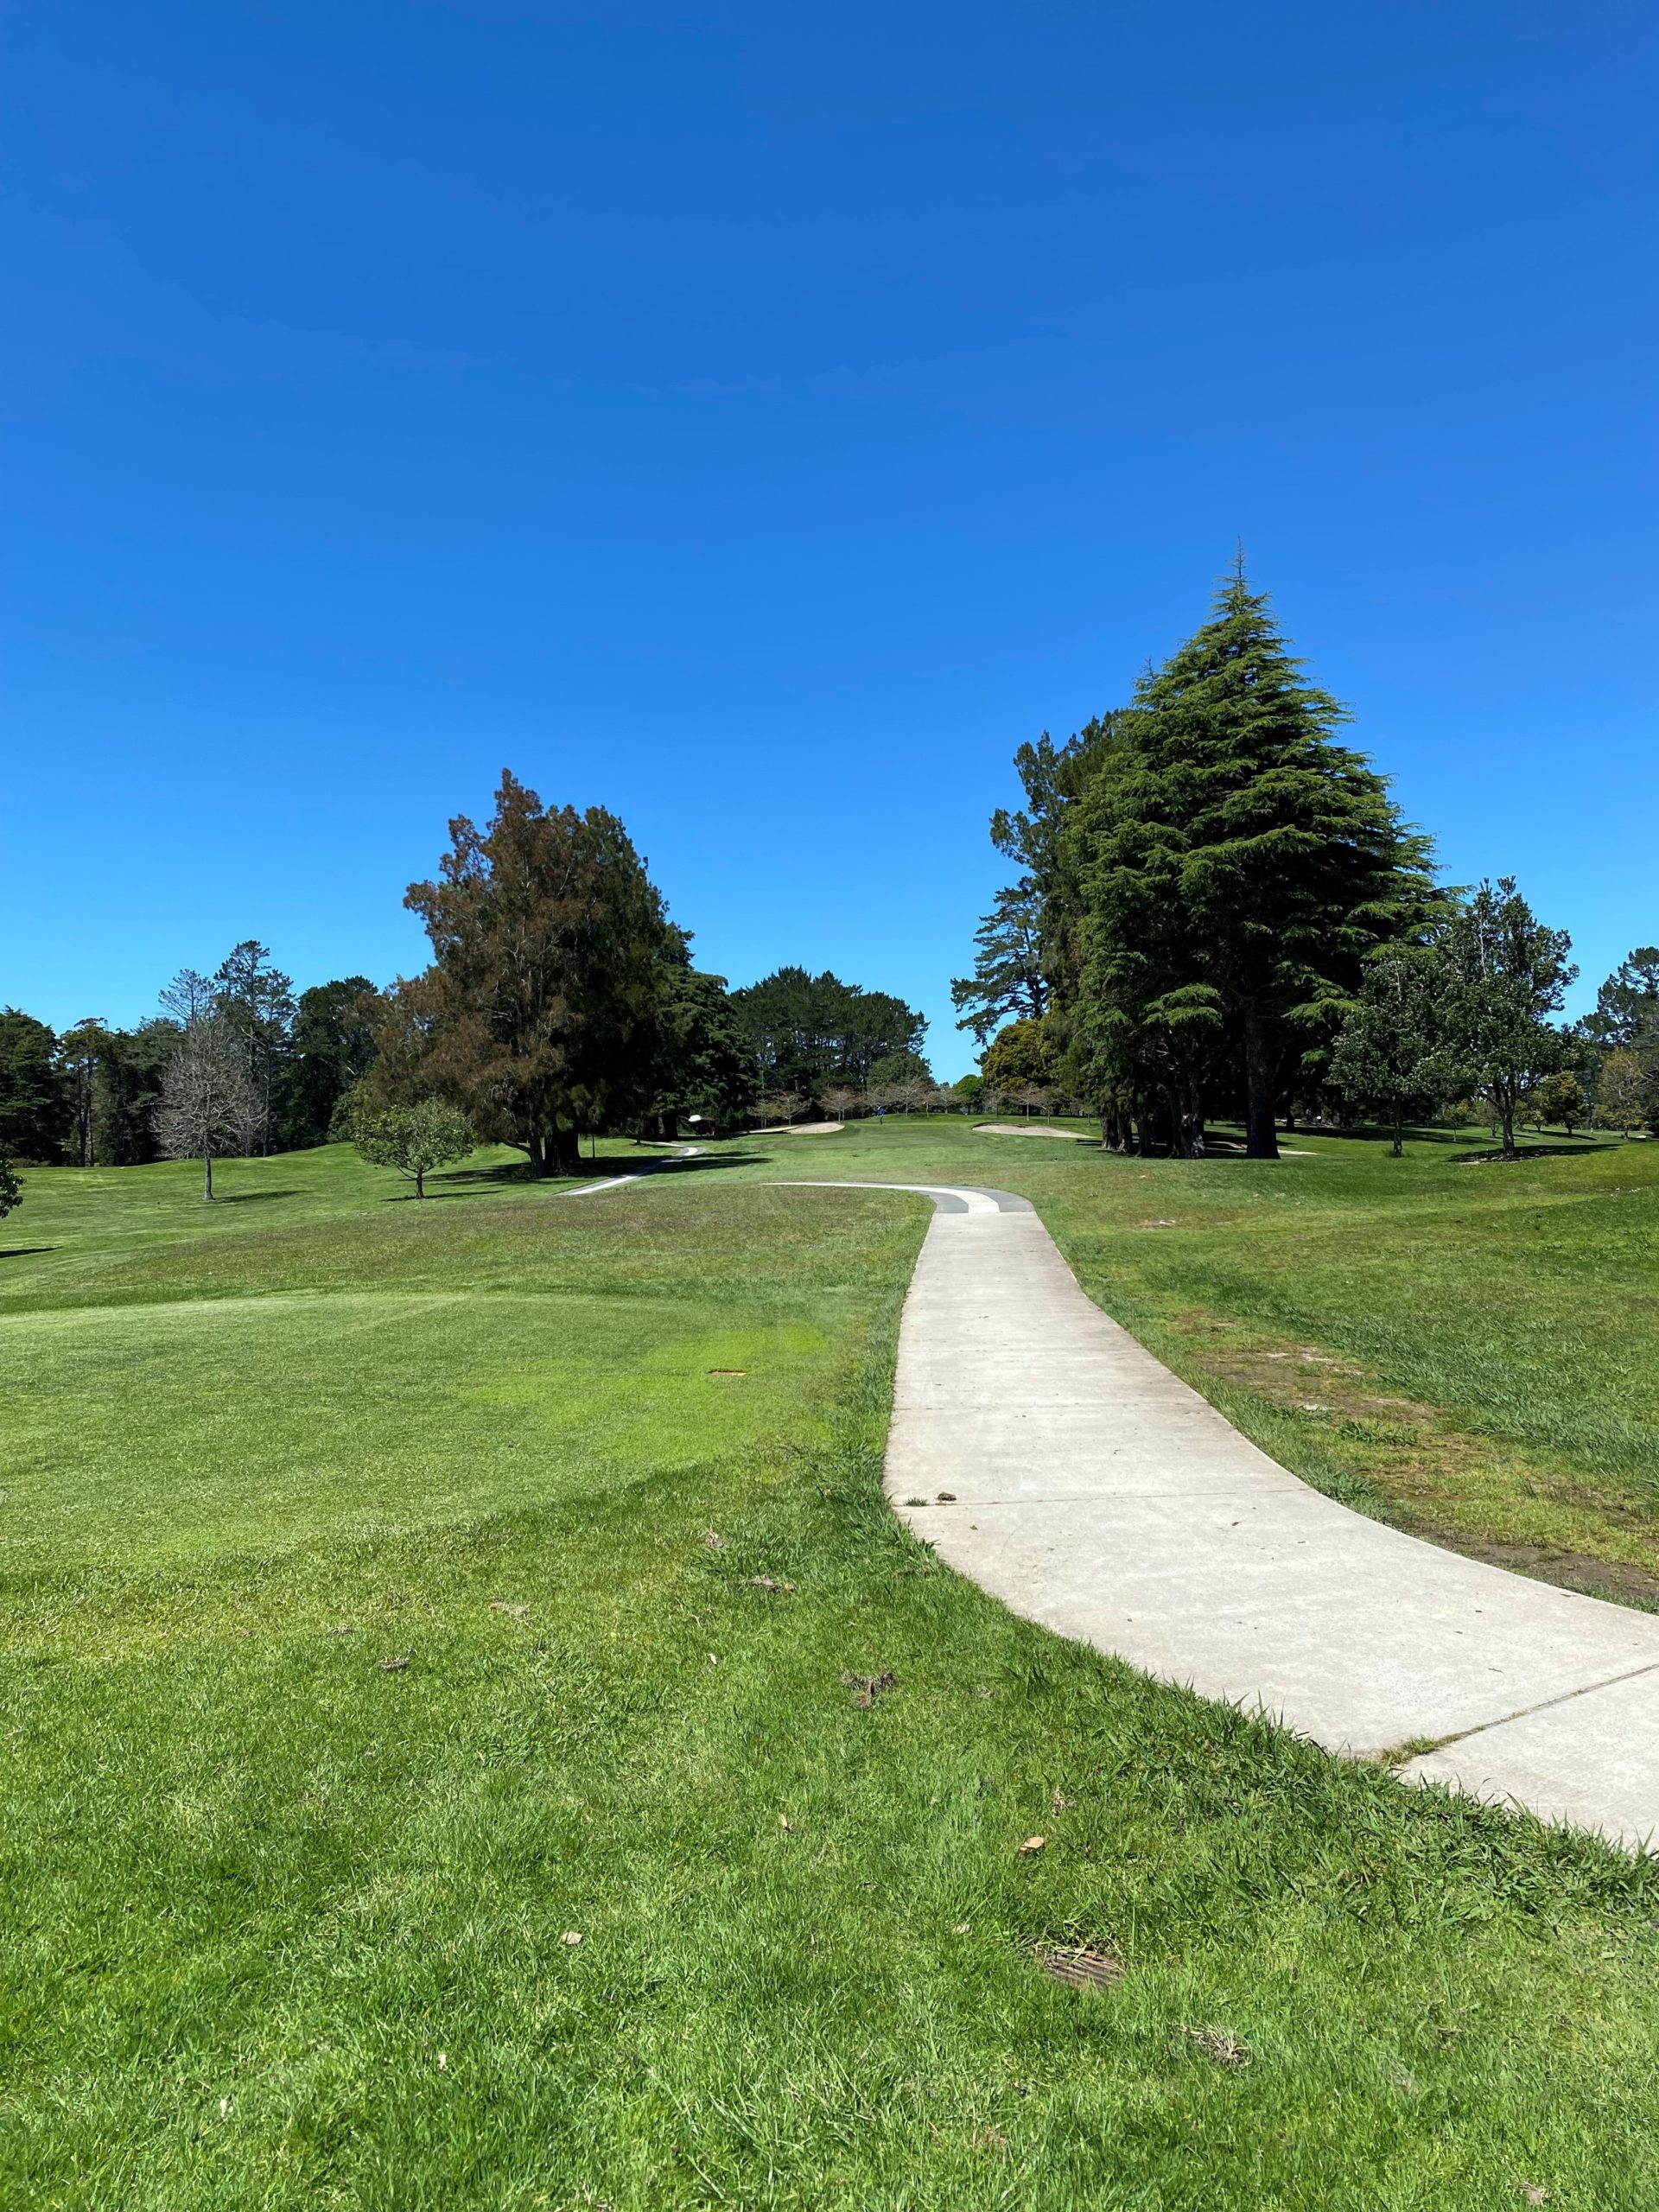

One of the more difficult par-3 holes on the course, the front bunkers to the left and right will catch any slightly off-line shot. The green slopes from the back to the front. Take plenty of club to ensure you reach the green.
Hole 7
Par 3 175 Meters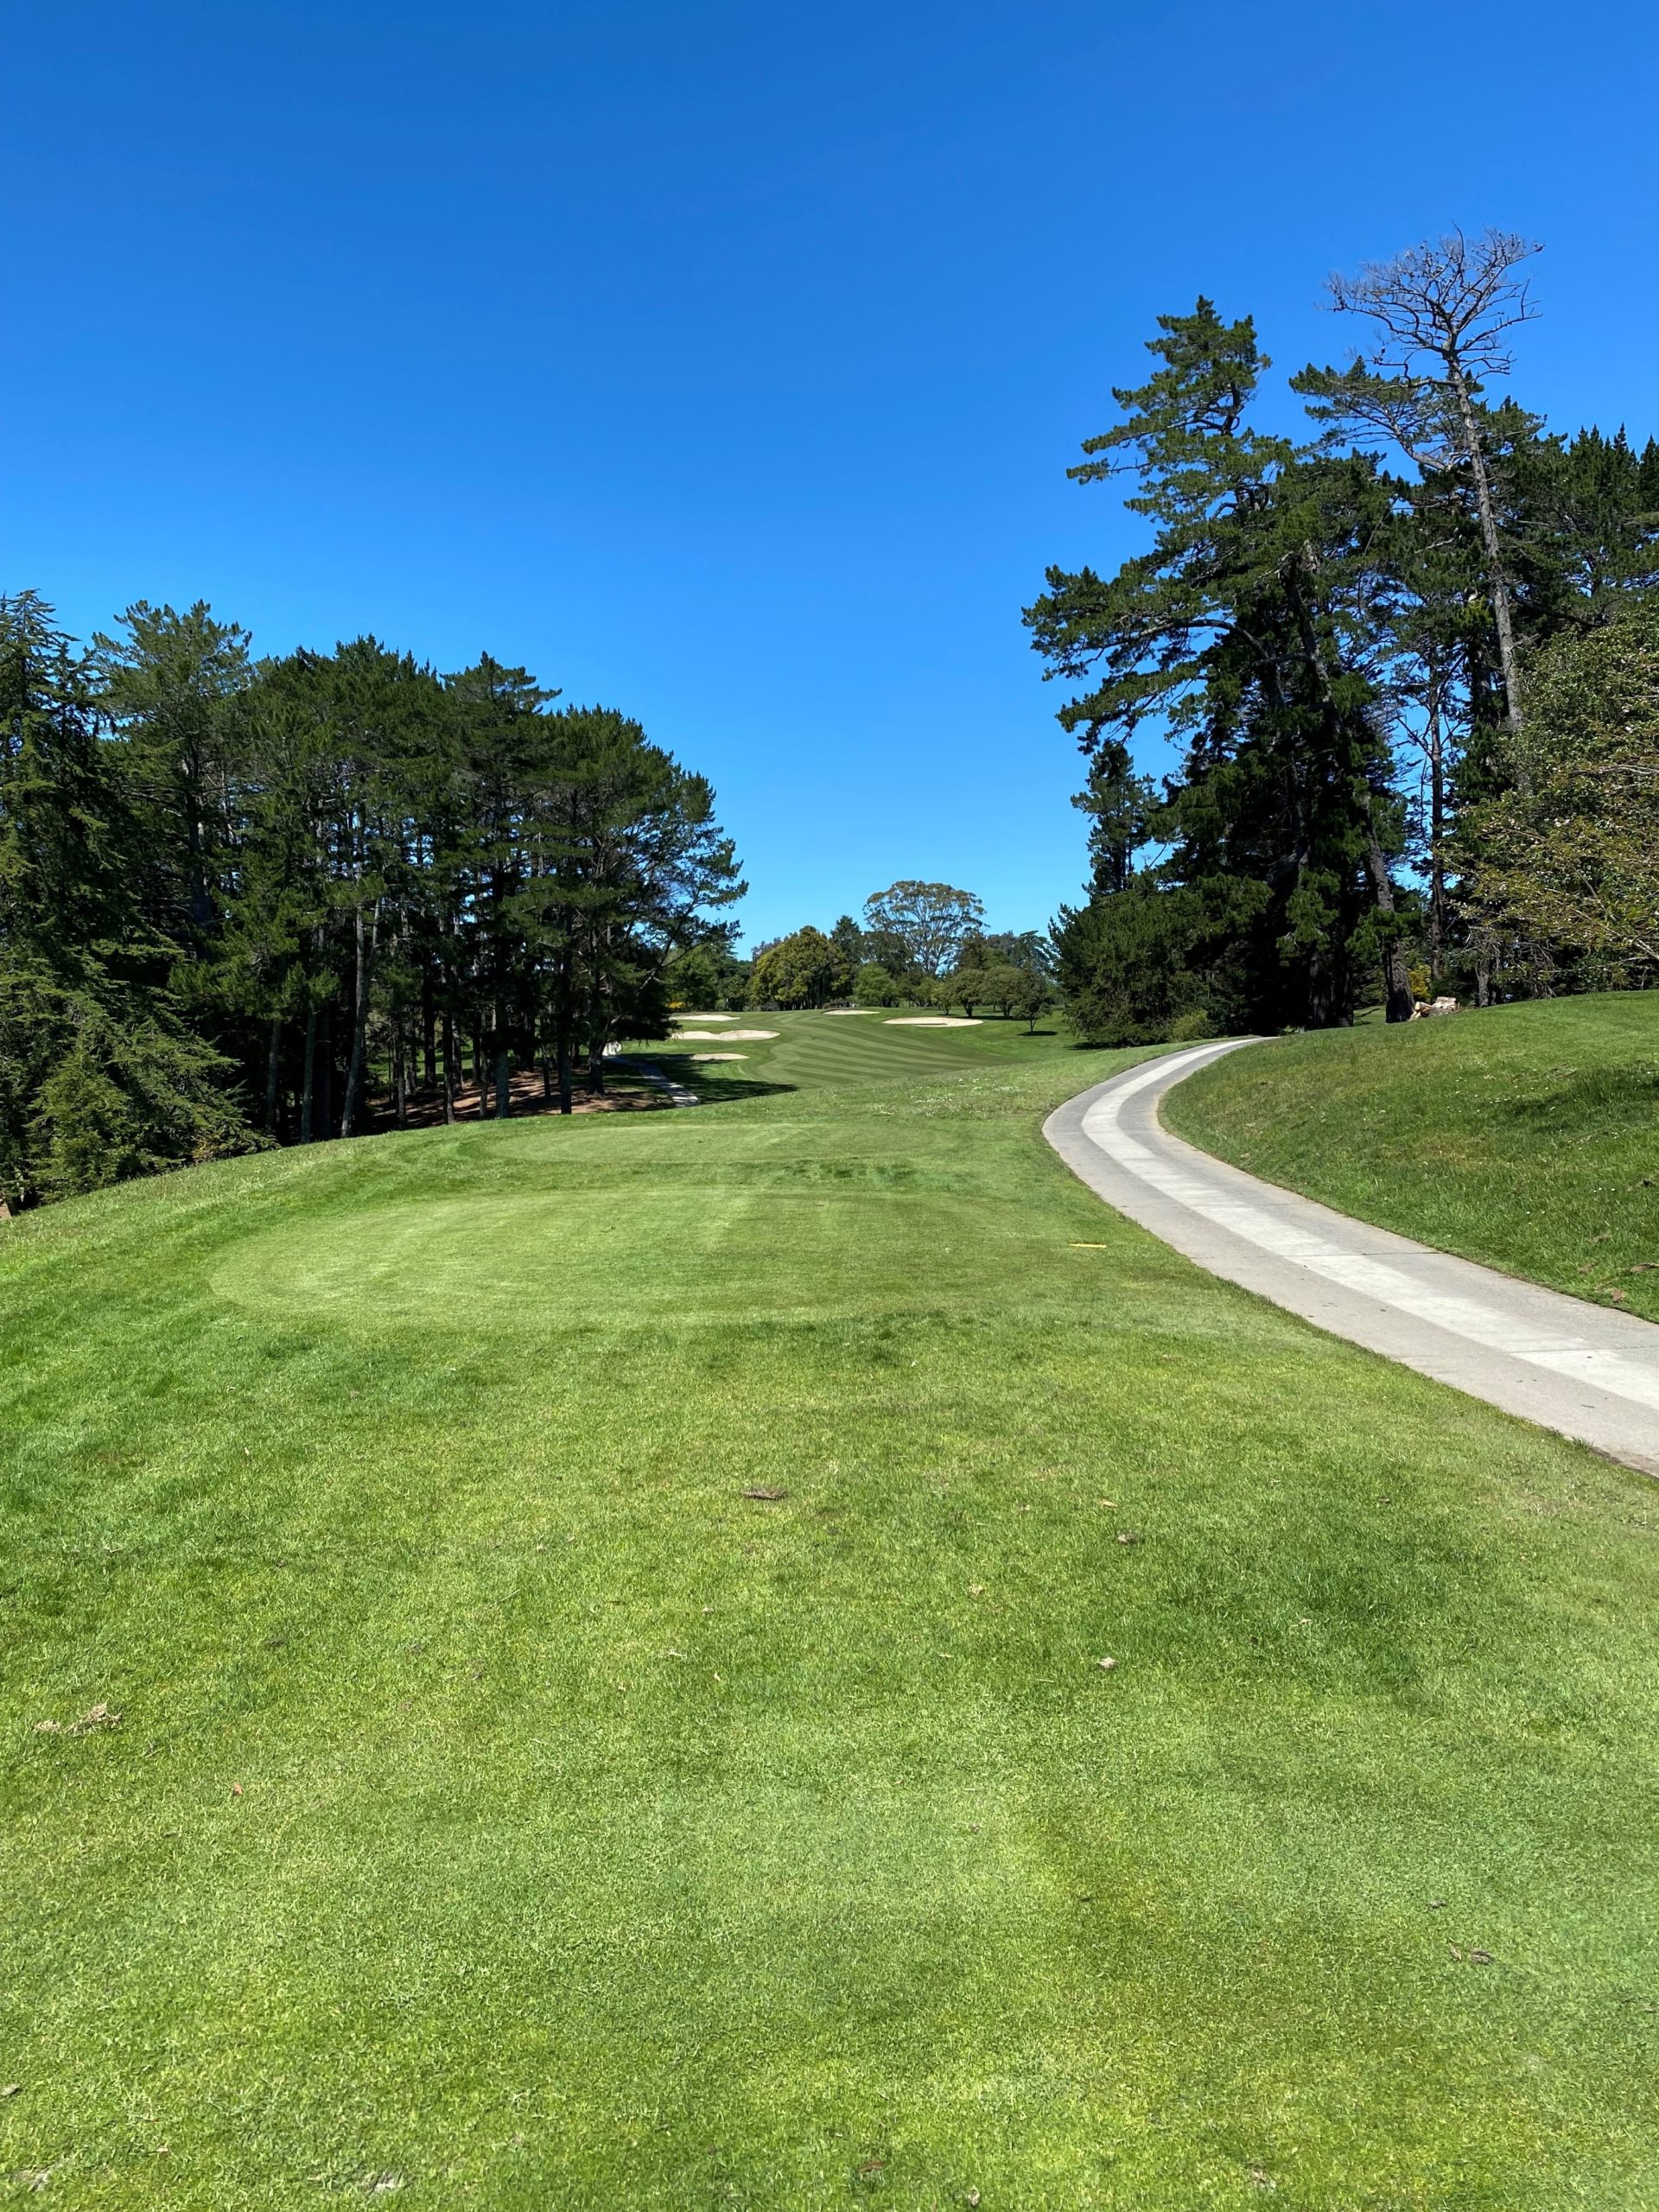

Hole 8 is one of the shorter par-4s. You have an option of taking on the bunkers or laying up for the approach. The ground falls away to the left and rear of the green, with the green sloping from back to front. Be aware of the greenside bunker on your approach.
Hole 8
Par 4 269 Meters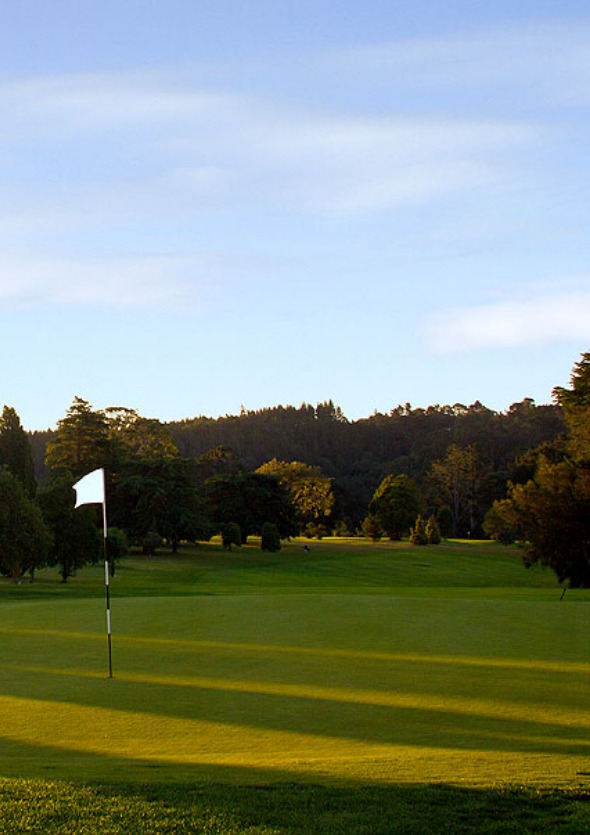
To finish off the first nine, this is a very demanding par-4. The preferred tee shot is right of the fairway to allow for the right to the left slope of the fairway. Be sure to note where the flag is on what is a long and narrow green. Adjust your club selection accordingly. A tee shot into the left rough could make par difficult.
Hole 9
Par 4 390 Meters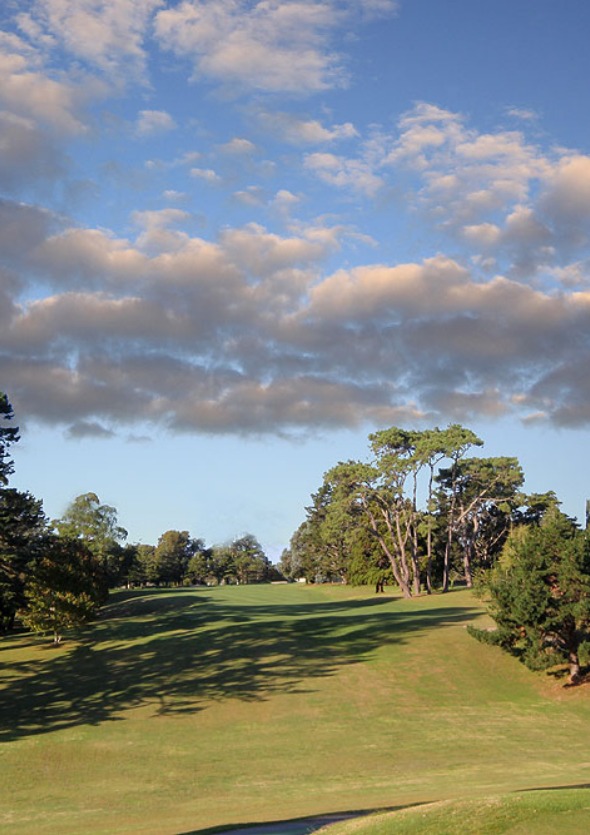

Hole 10 is a very demanding par-5. The narrow landing area for the tee shot requires accuracy. The contours of the fairway at the landing area will take a good drive from right to left. The left of the fairway is the preferred position to negotiate the dogleg right. The long green becomes harder when positioning the pin back right. Take care that your second does not go over the fairway.
Hole 10
Par 5 483 Meters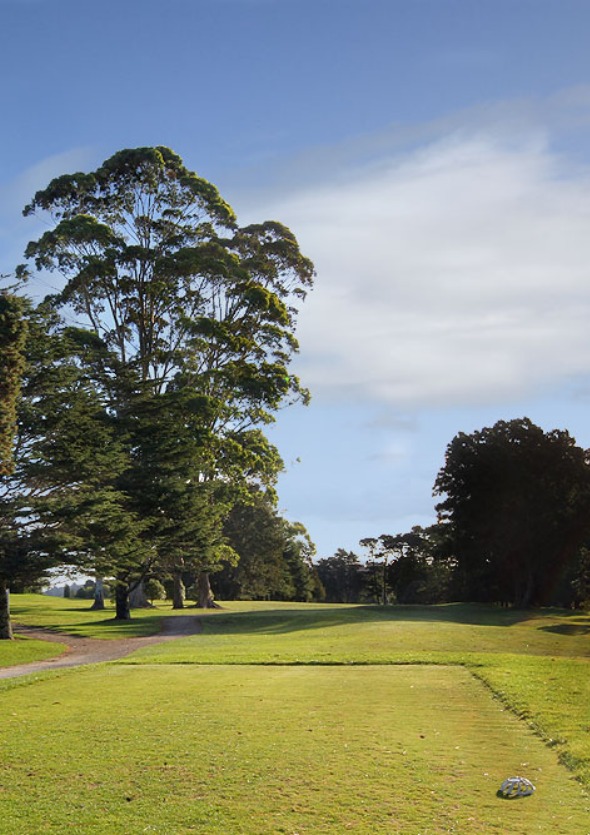

One of the more challenging par-4s on the course, a good tee shot is necessary, followed by an equally good second to a green that slopes back to front from right to left. Keep your tee shot right of the fairway bunker.
Hole 11
Par 4 373 Meters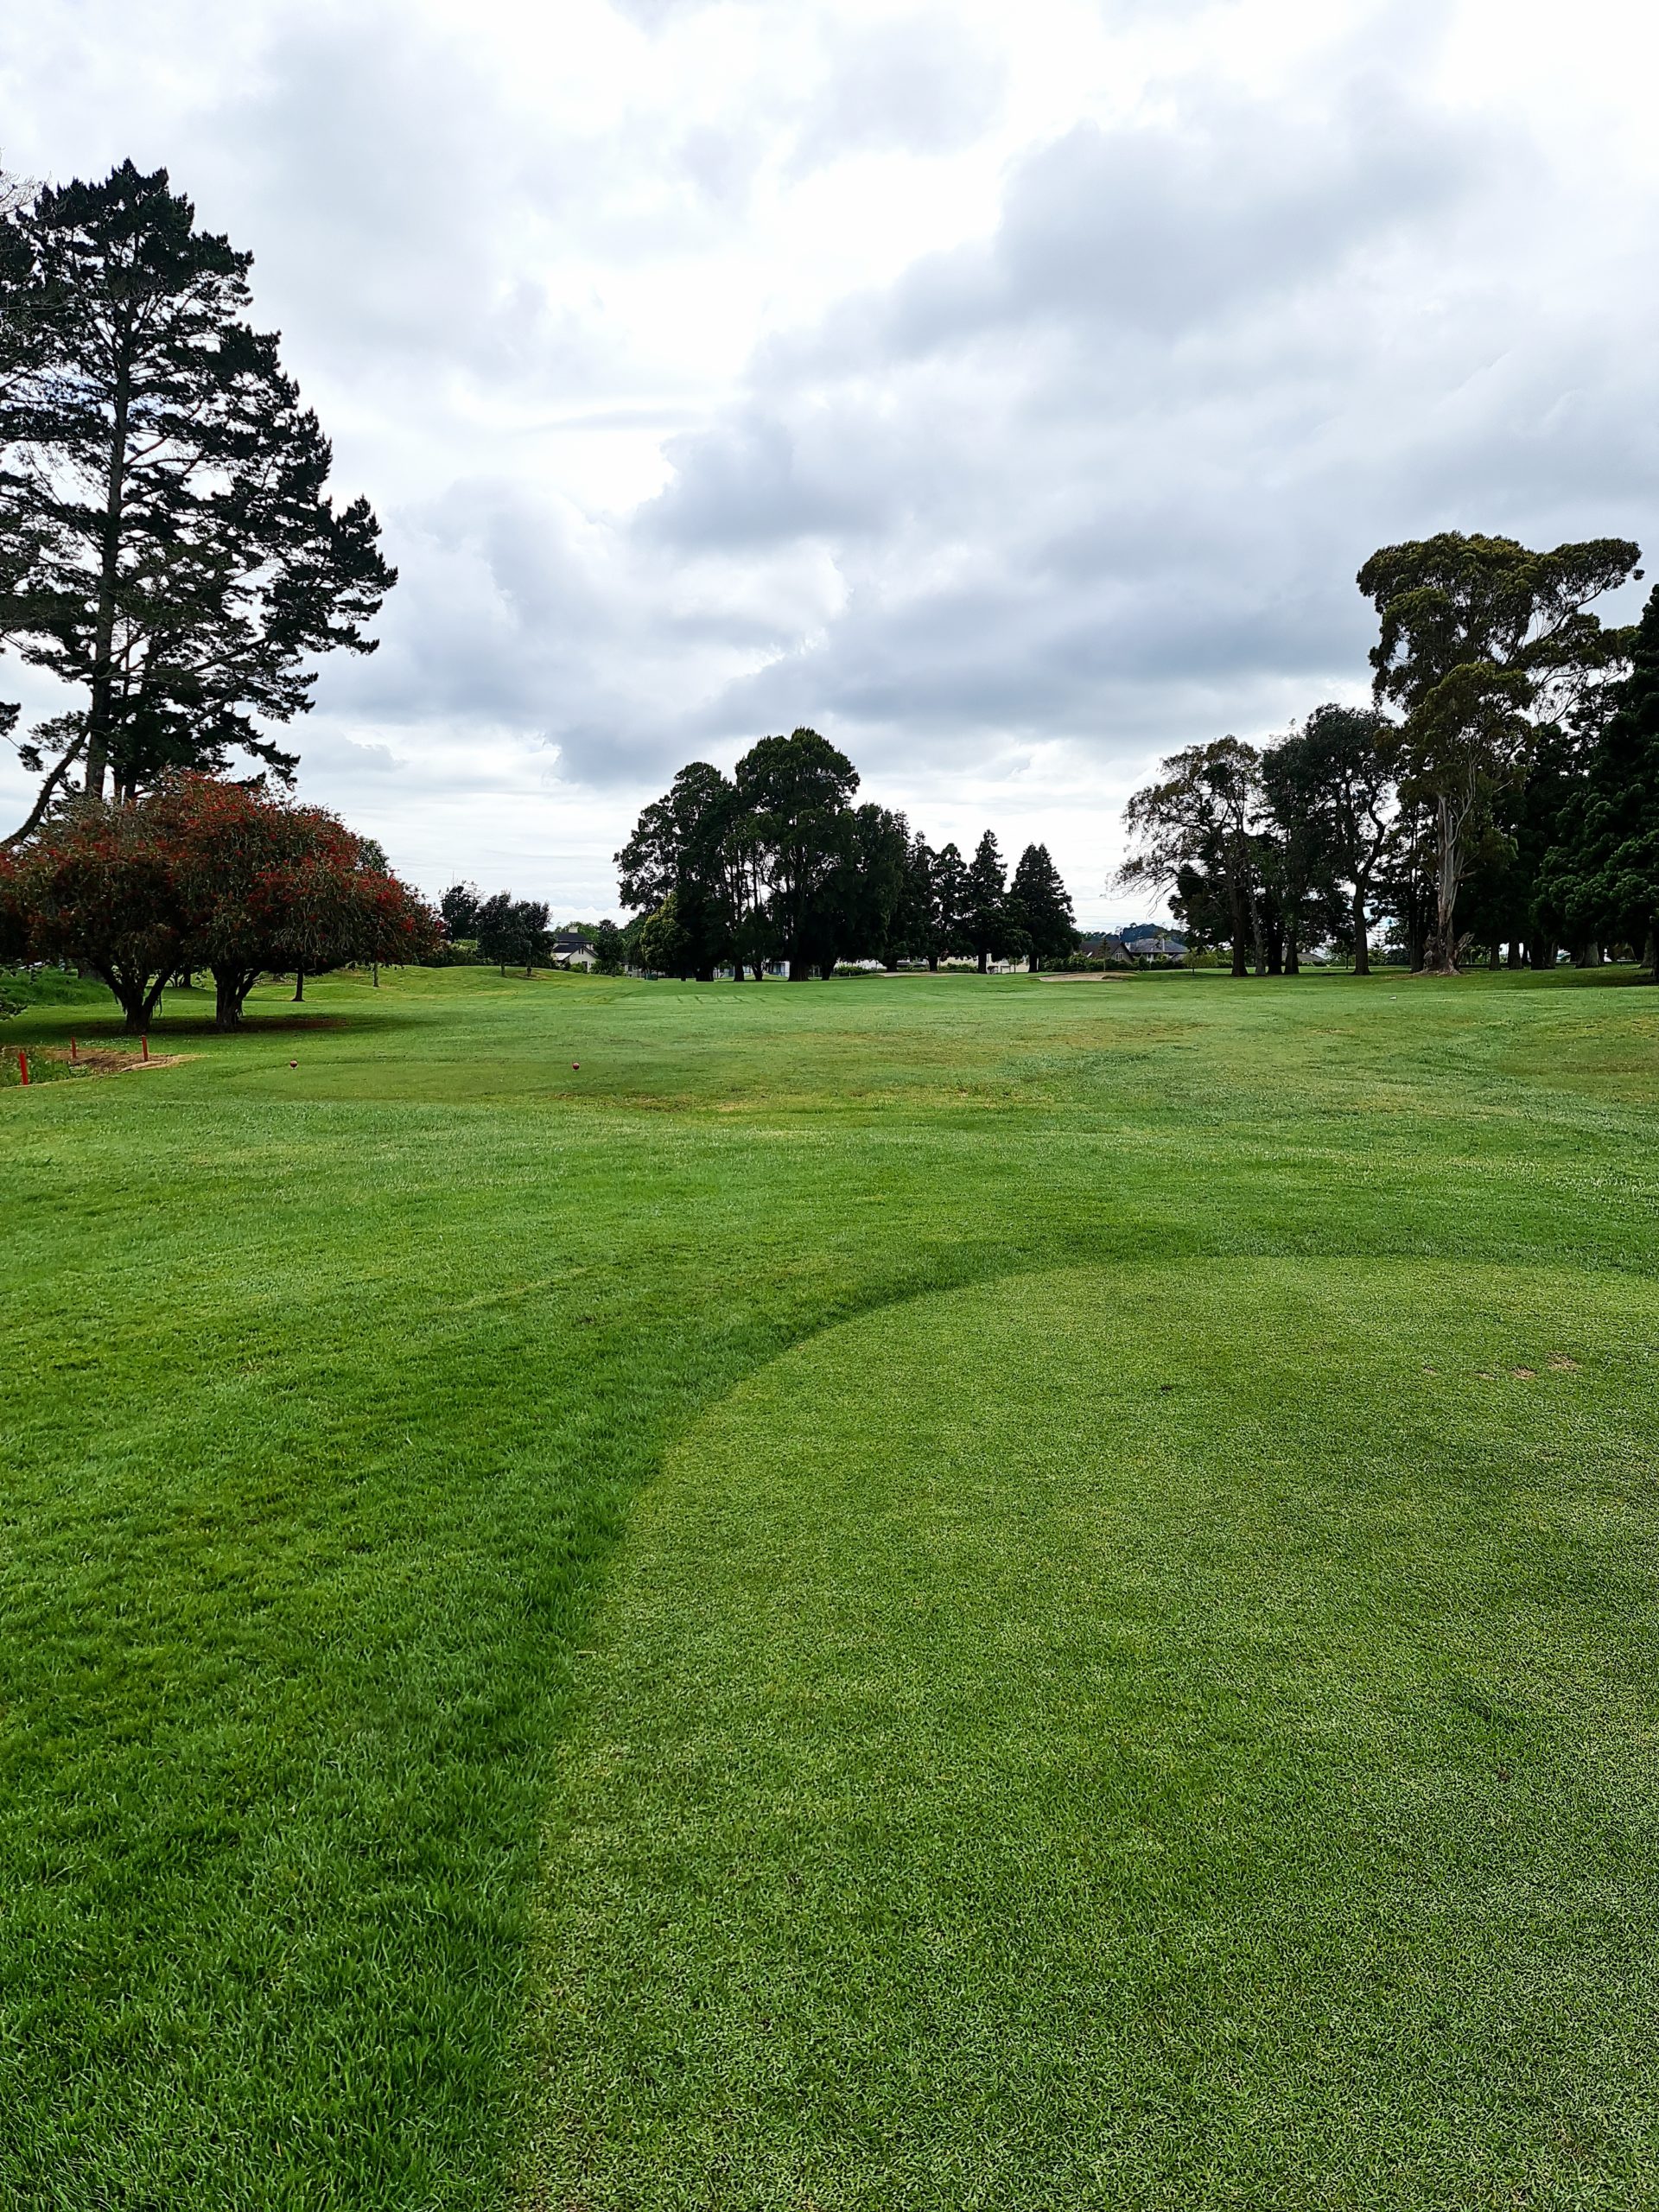

A tee shot aimed straight down the centre is the preferred alignment from the tee, provided your drive has sufficient length to see into the green. In summer conditions, take care not to over club from the tee.
Hole 12
Par 4 352 Meters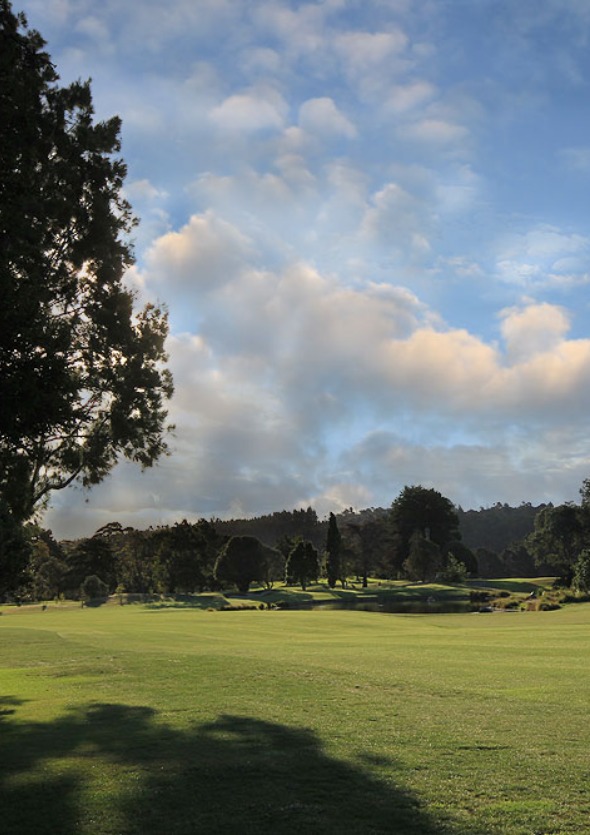
Stay left of centre from the tee to take the lake out of play. The green is narrow, so your approach shot needs to be accurate. Too far right off the tee, and your ball will be wet.
Hole 13
Par 4 317 Meters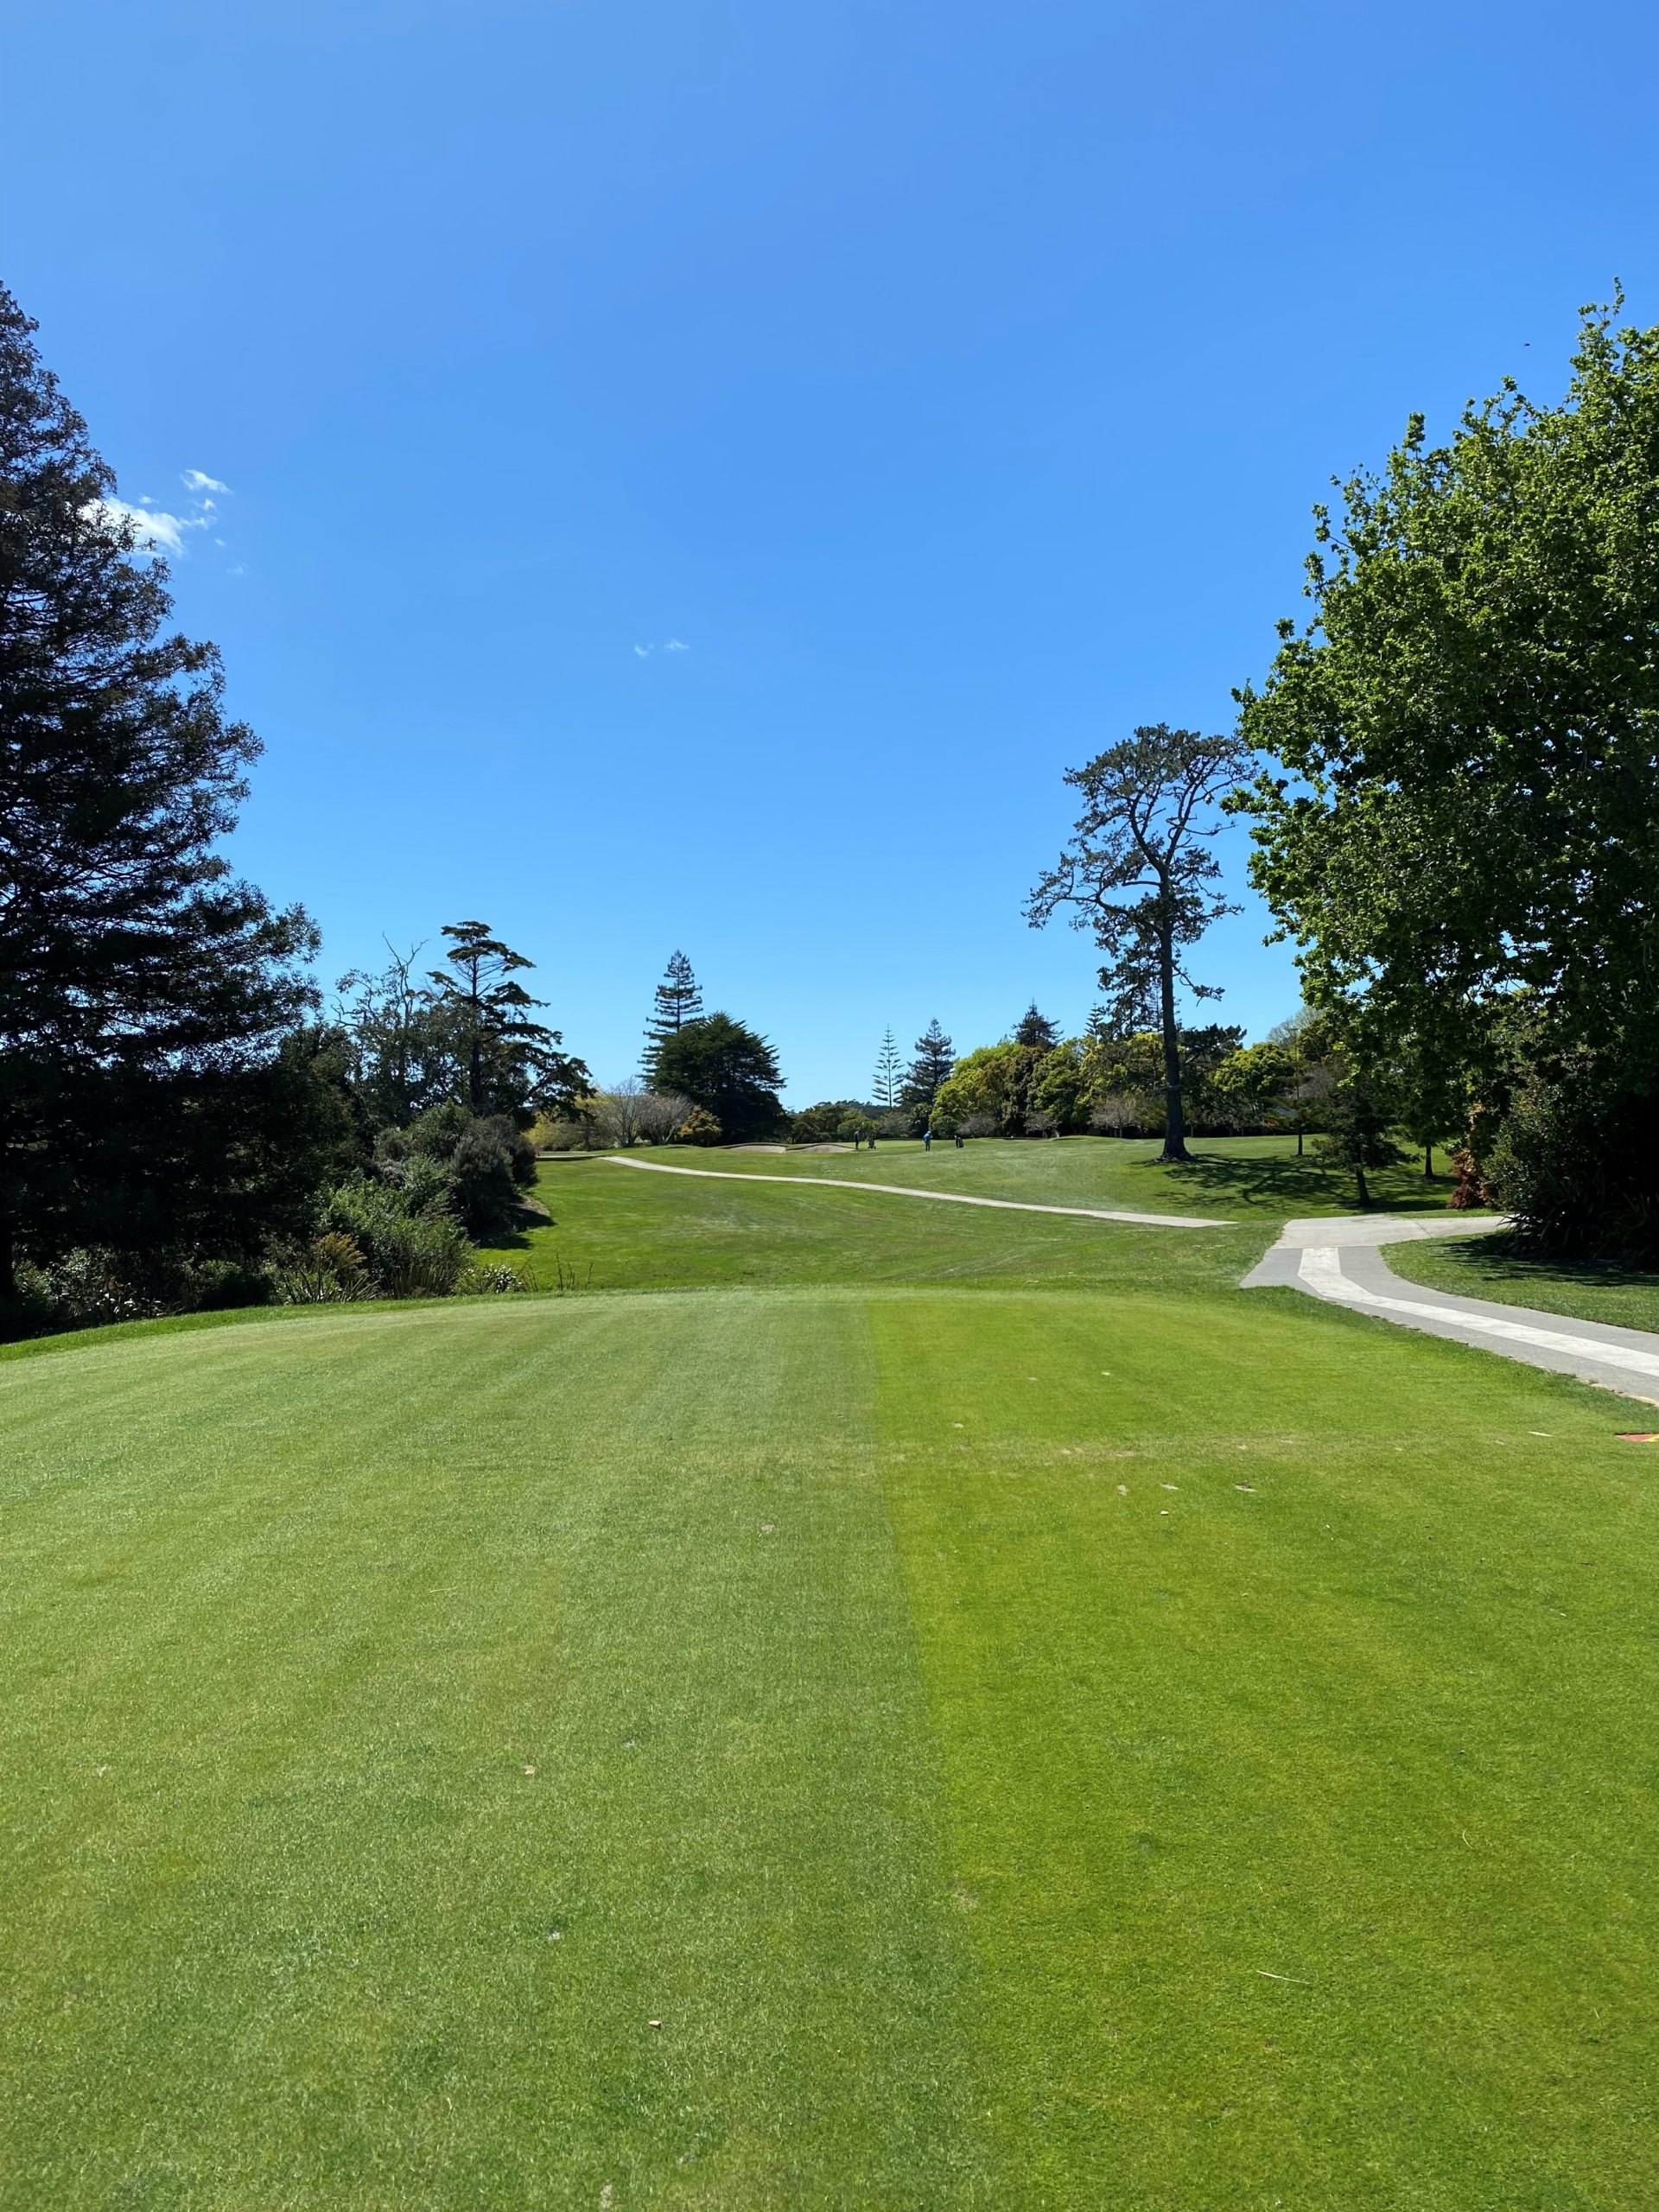

This par-3 is well-guarded by bunkers front and rear. Front bunkers give the impression the hole is shorter than it is. Take plenty of club. Bale out position is right of the green.
Hole 14
Par 3 175 Meters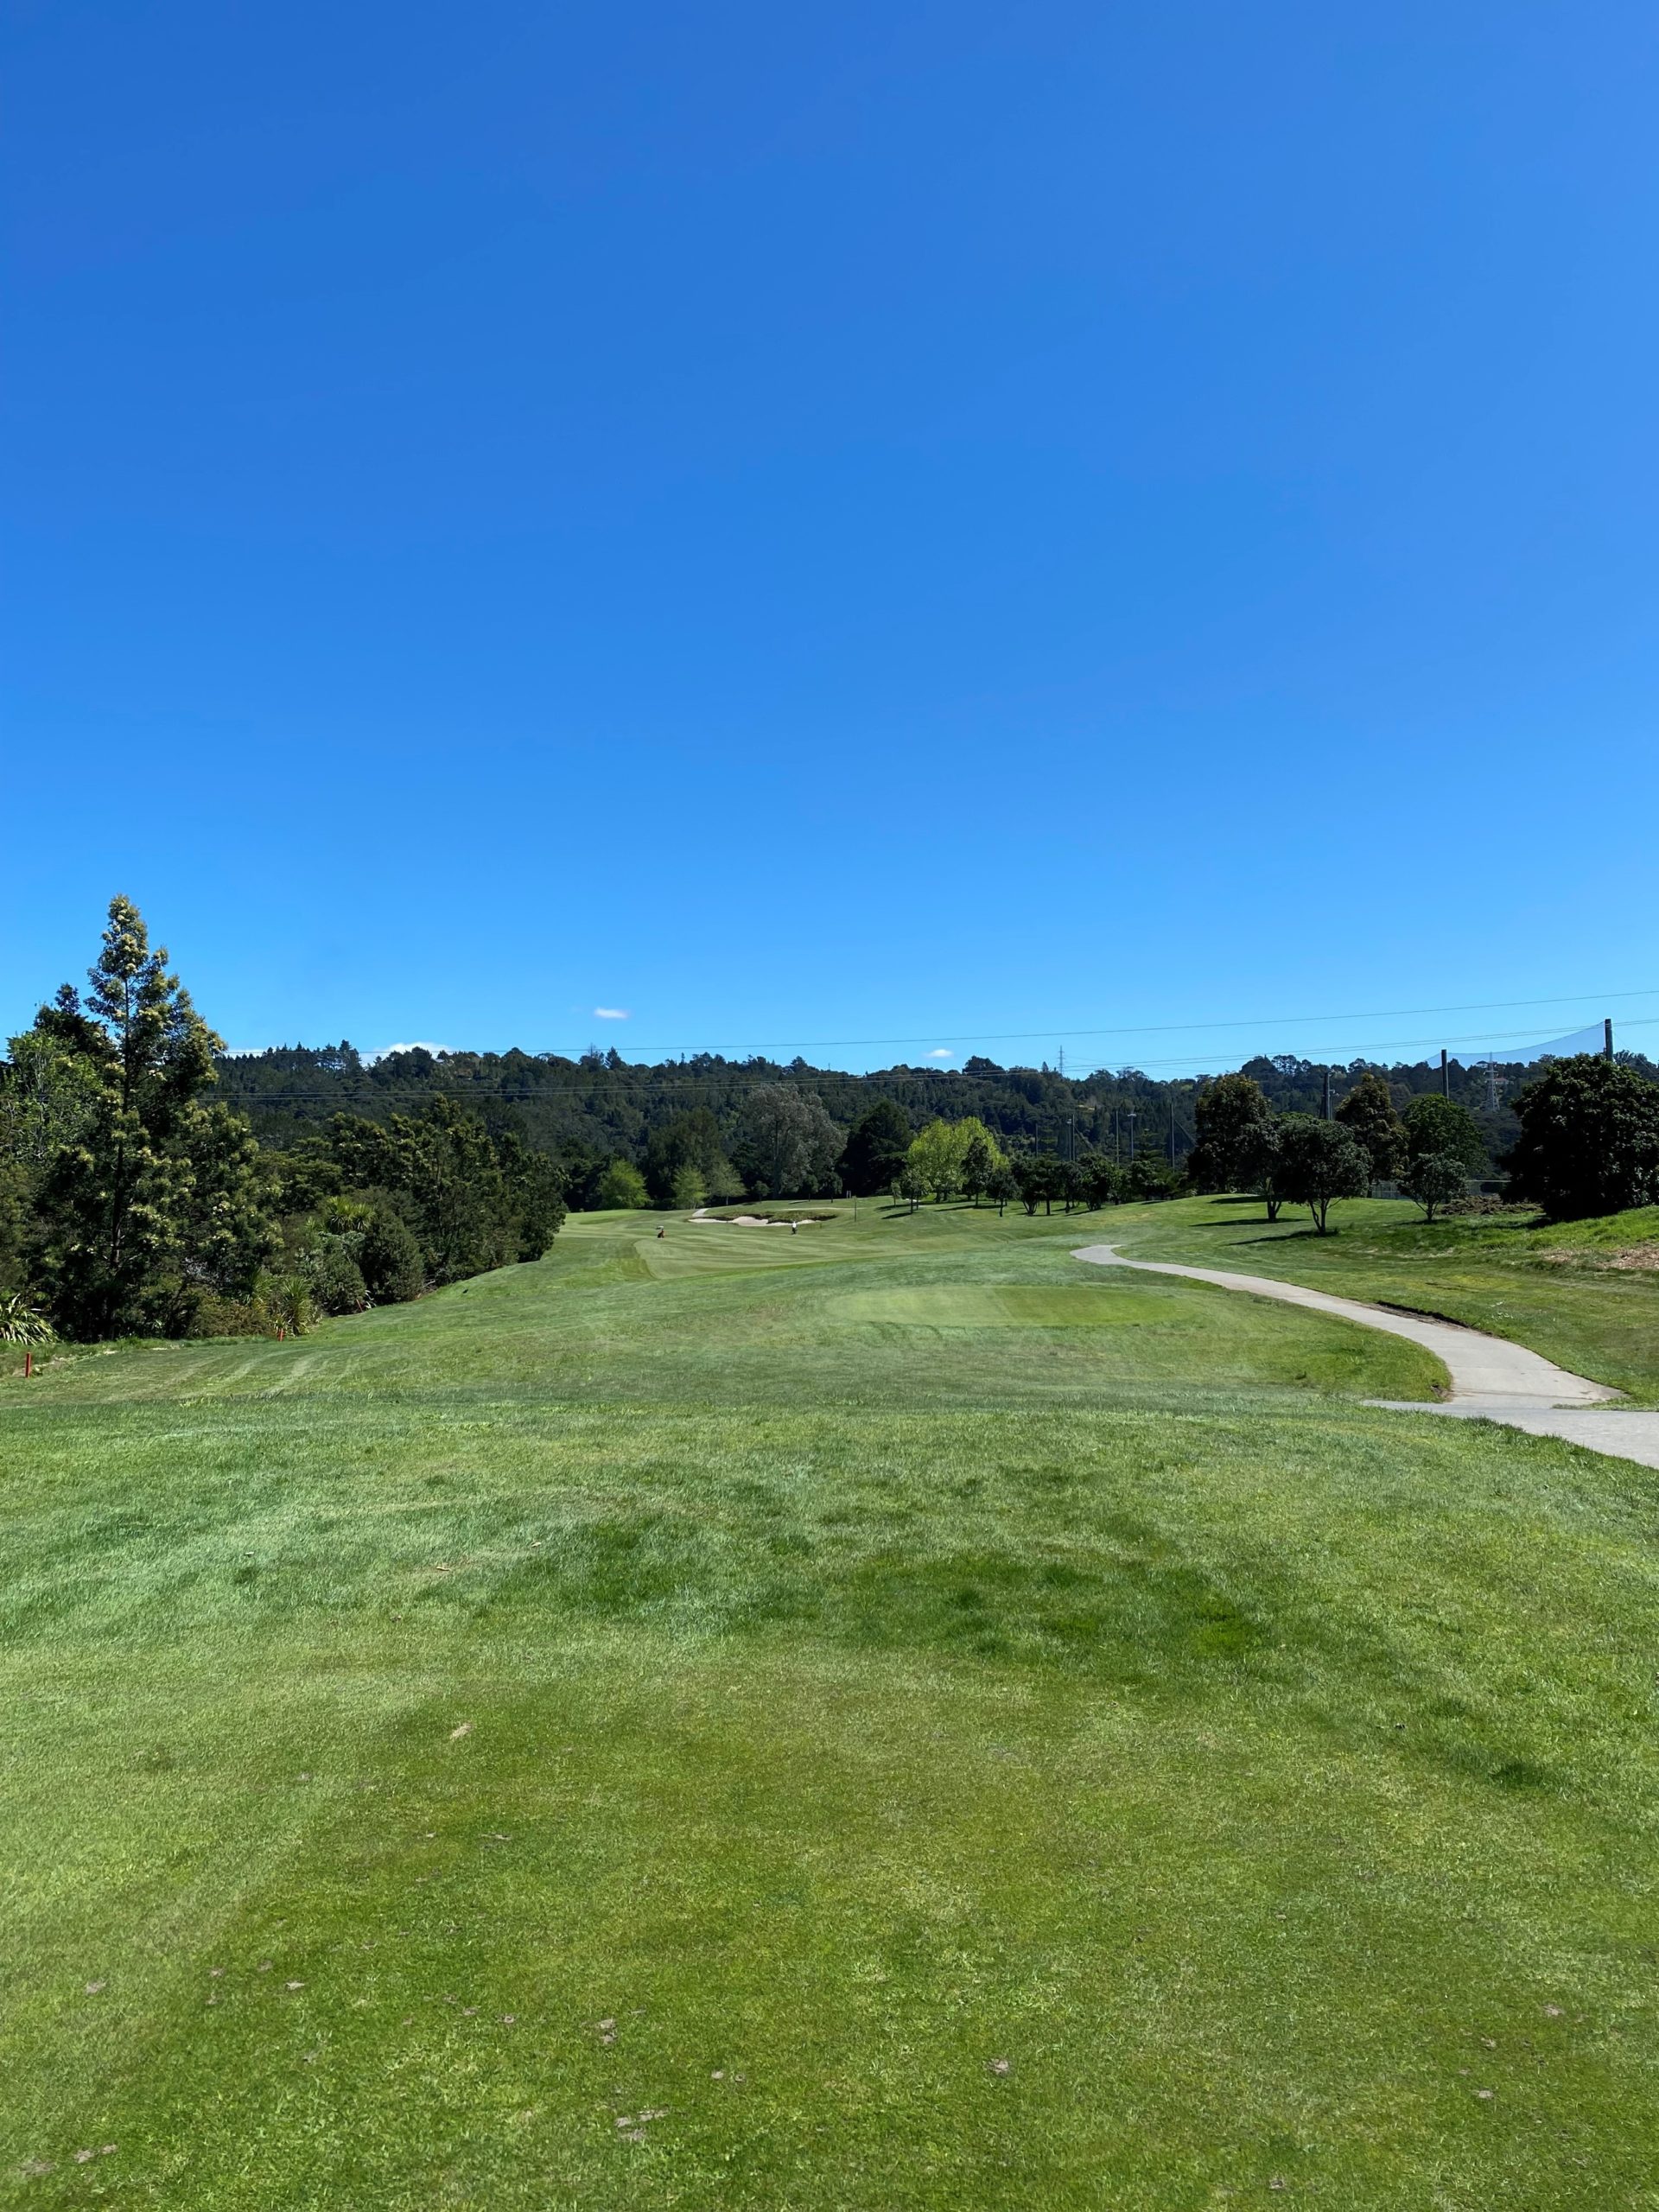

Your tee shot will go with the contour from right to left, which is the preferred position for your approach shot. The green, whilst long, is narrow and made more difficult by the penalty area at the back left of the green. Out-of-bounds right and a penalty area left.
Hole 15
Par 4 355 Meters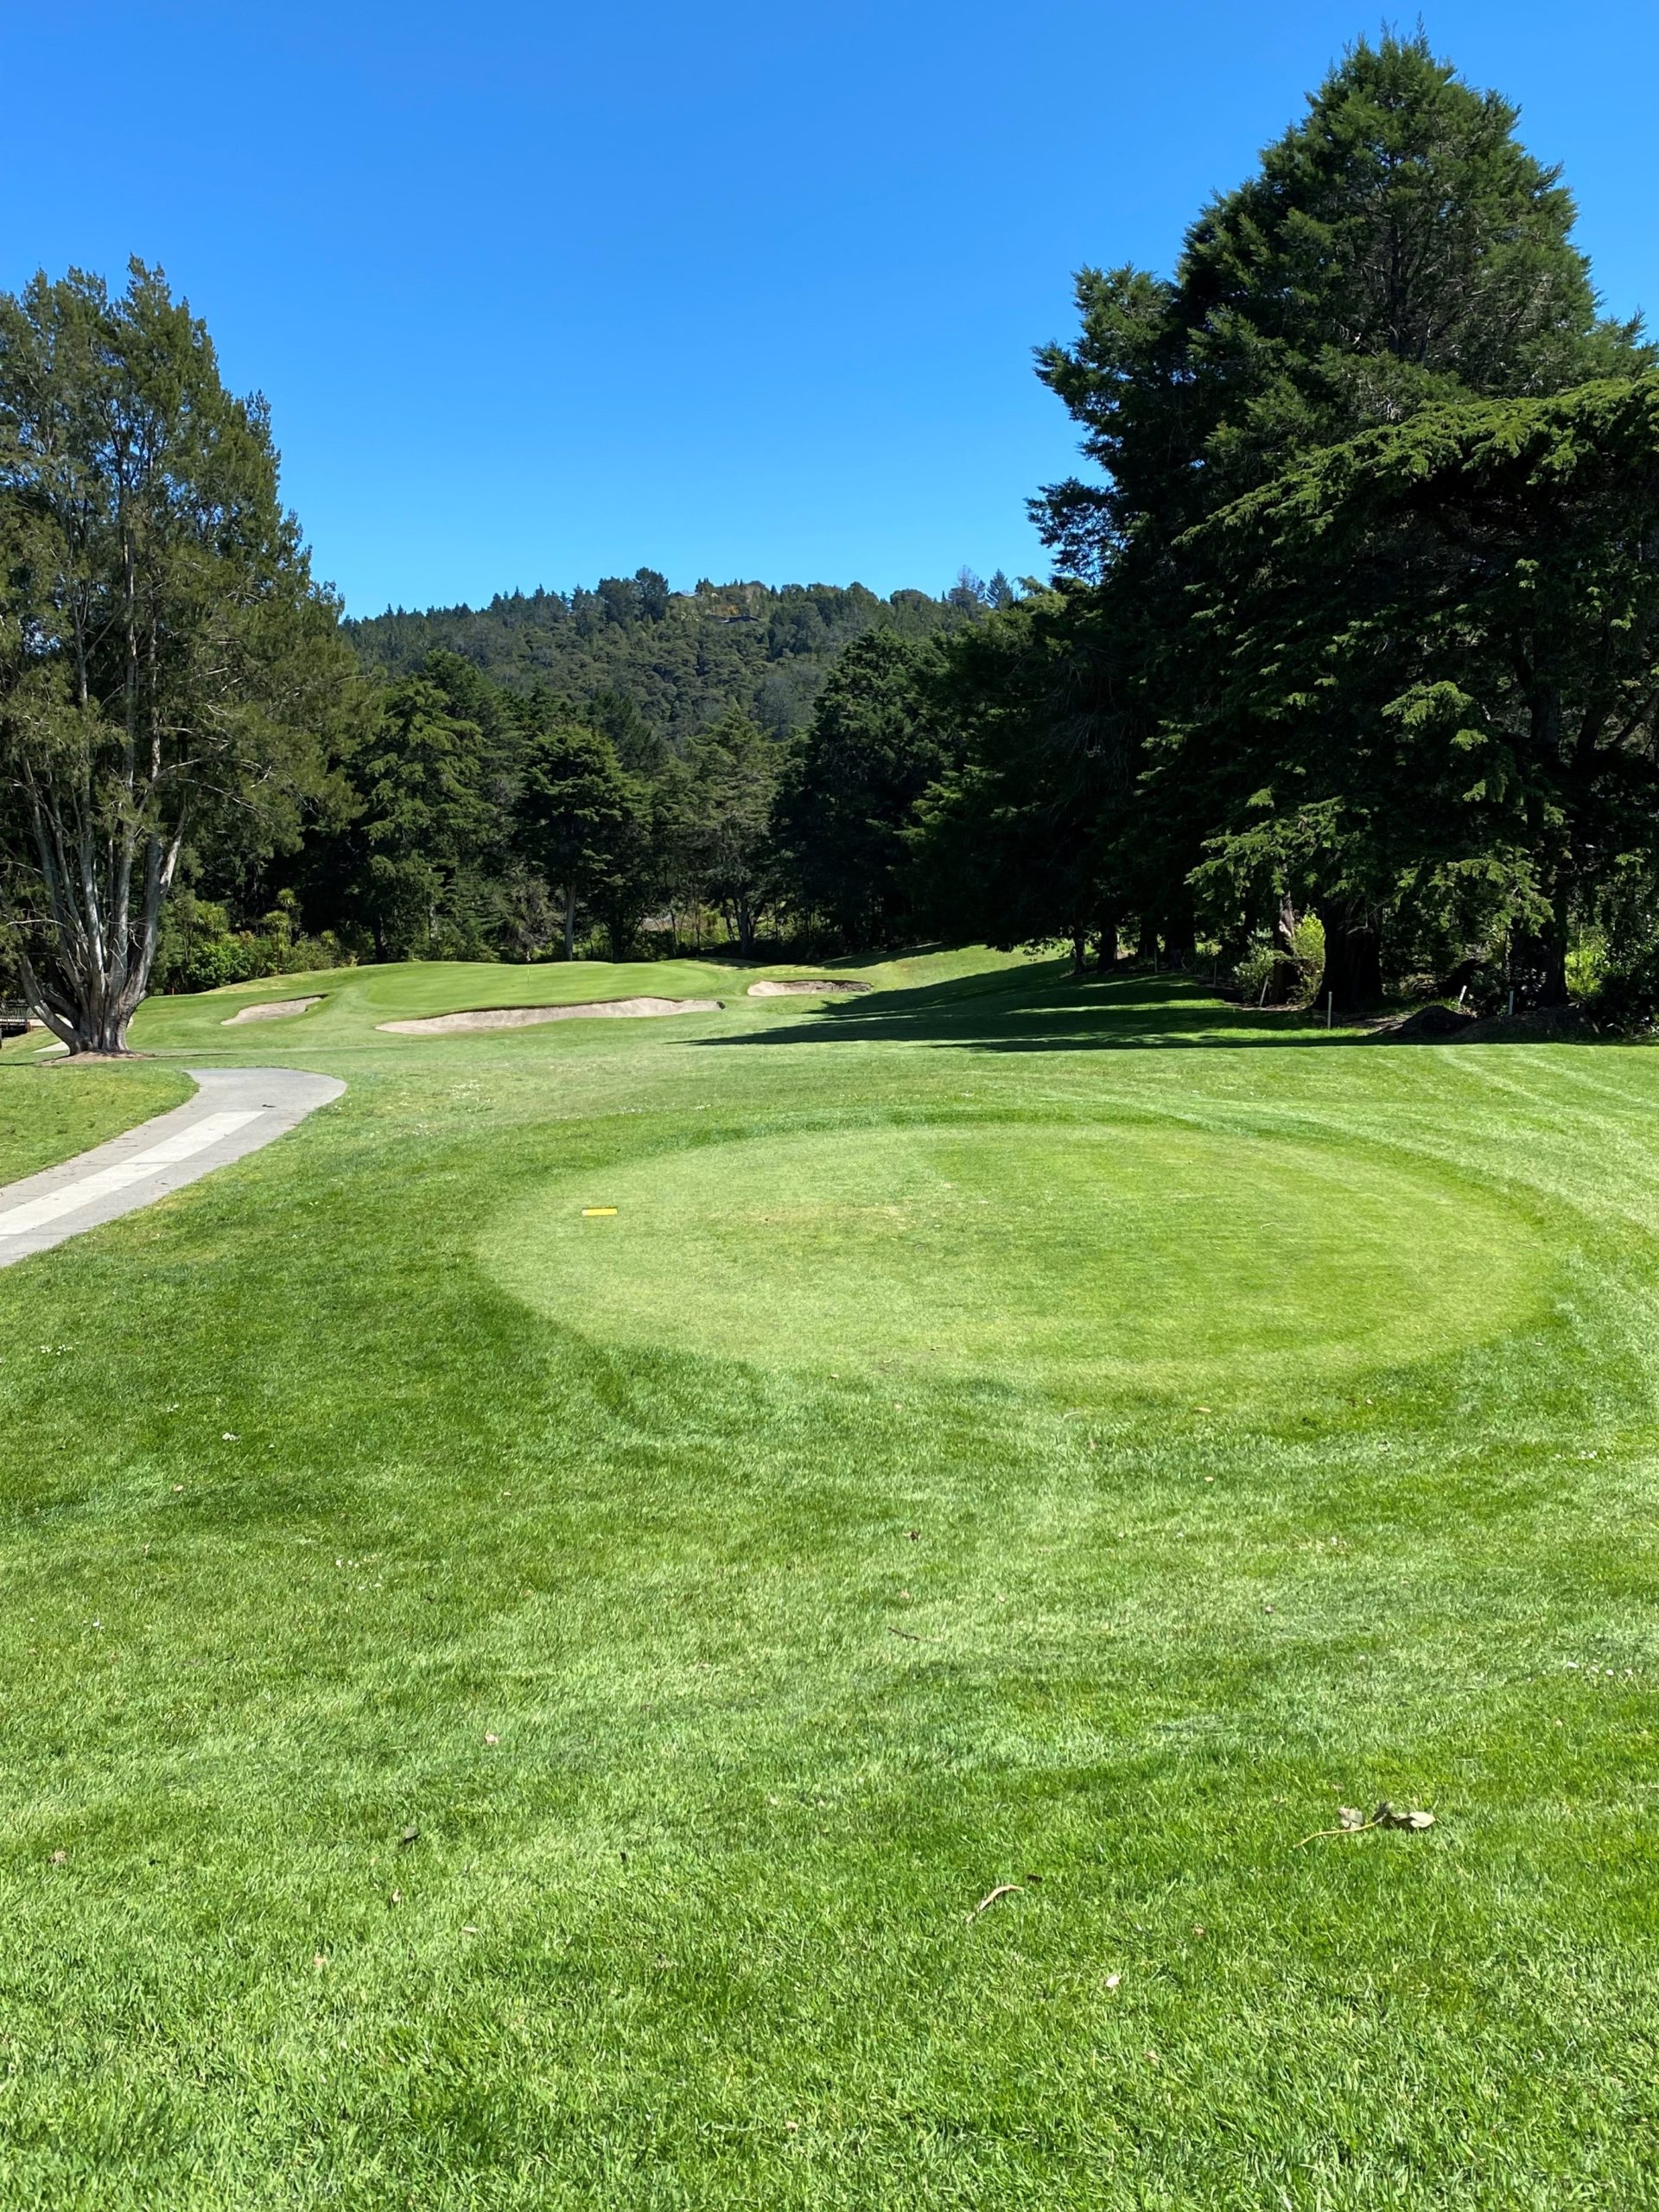

Hole 16 has an elevated tee down toward a well-protected green with front and side bunkers. Prevailing winds can dictate club selection.
Hole 16
Par 3 153 Meters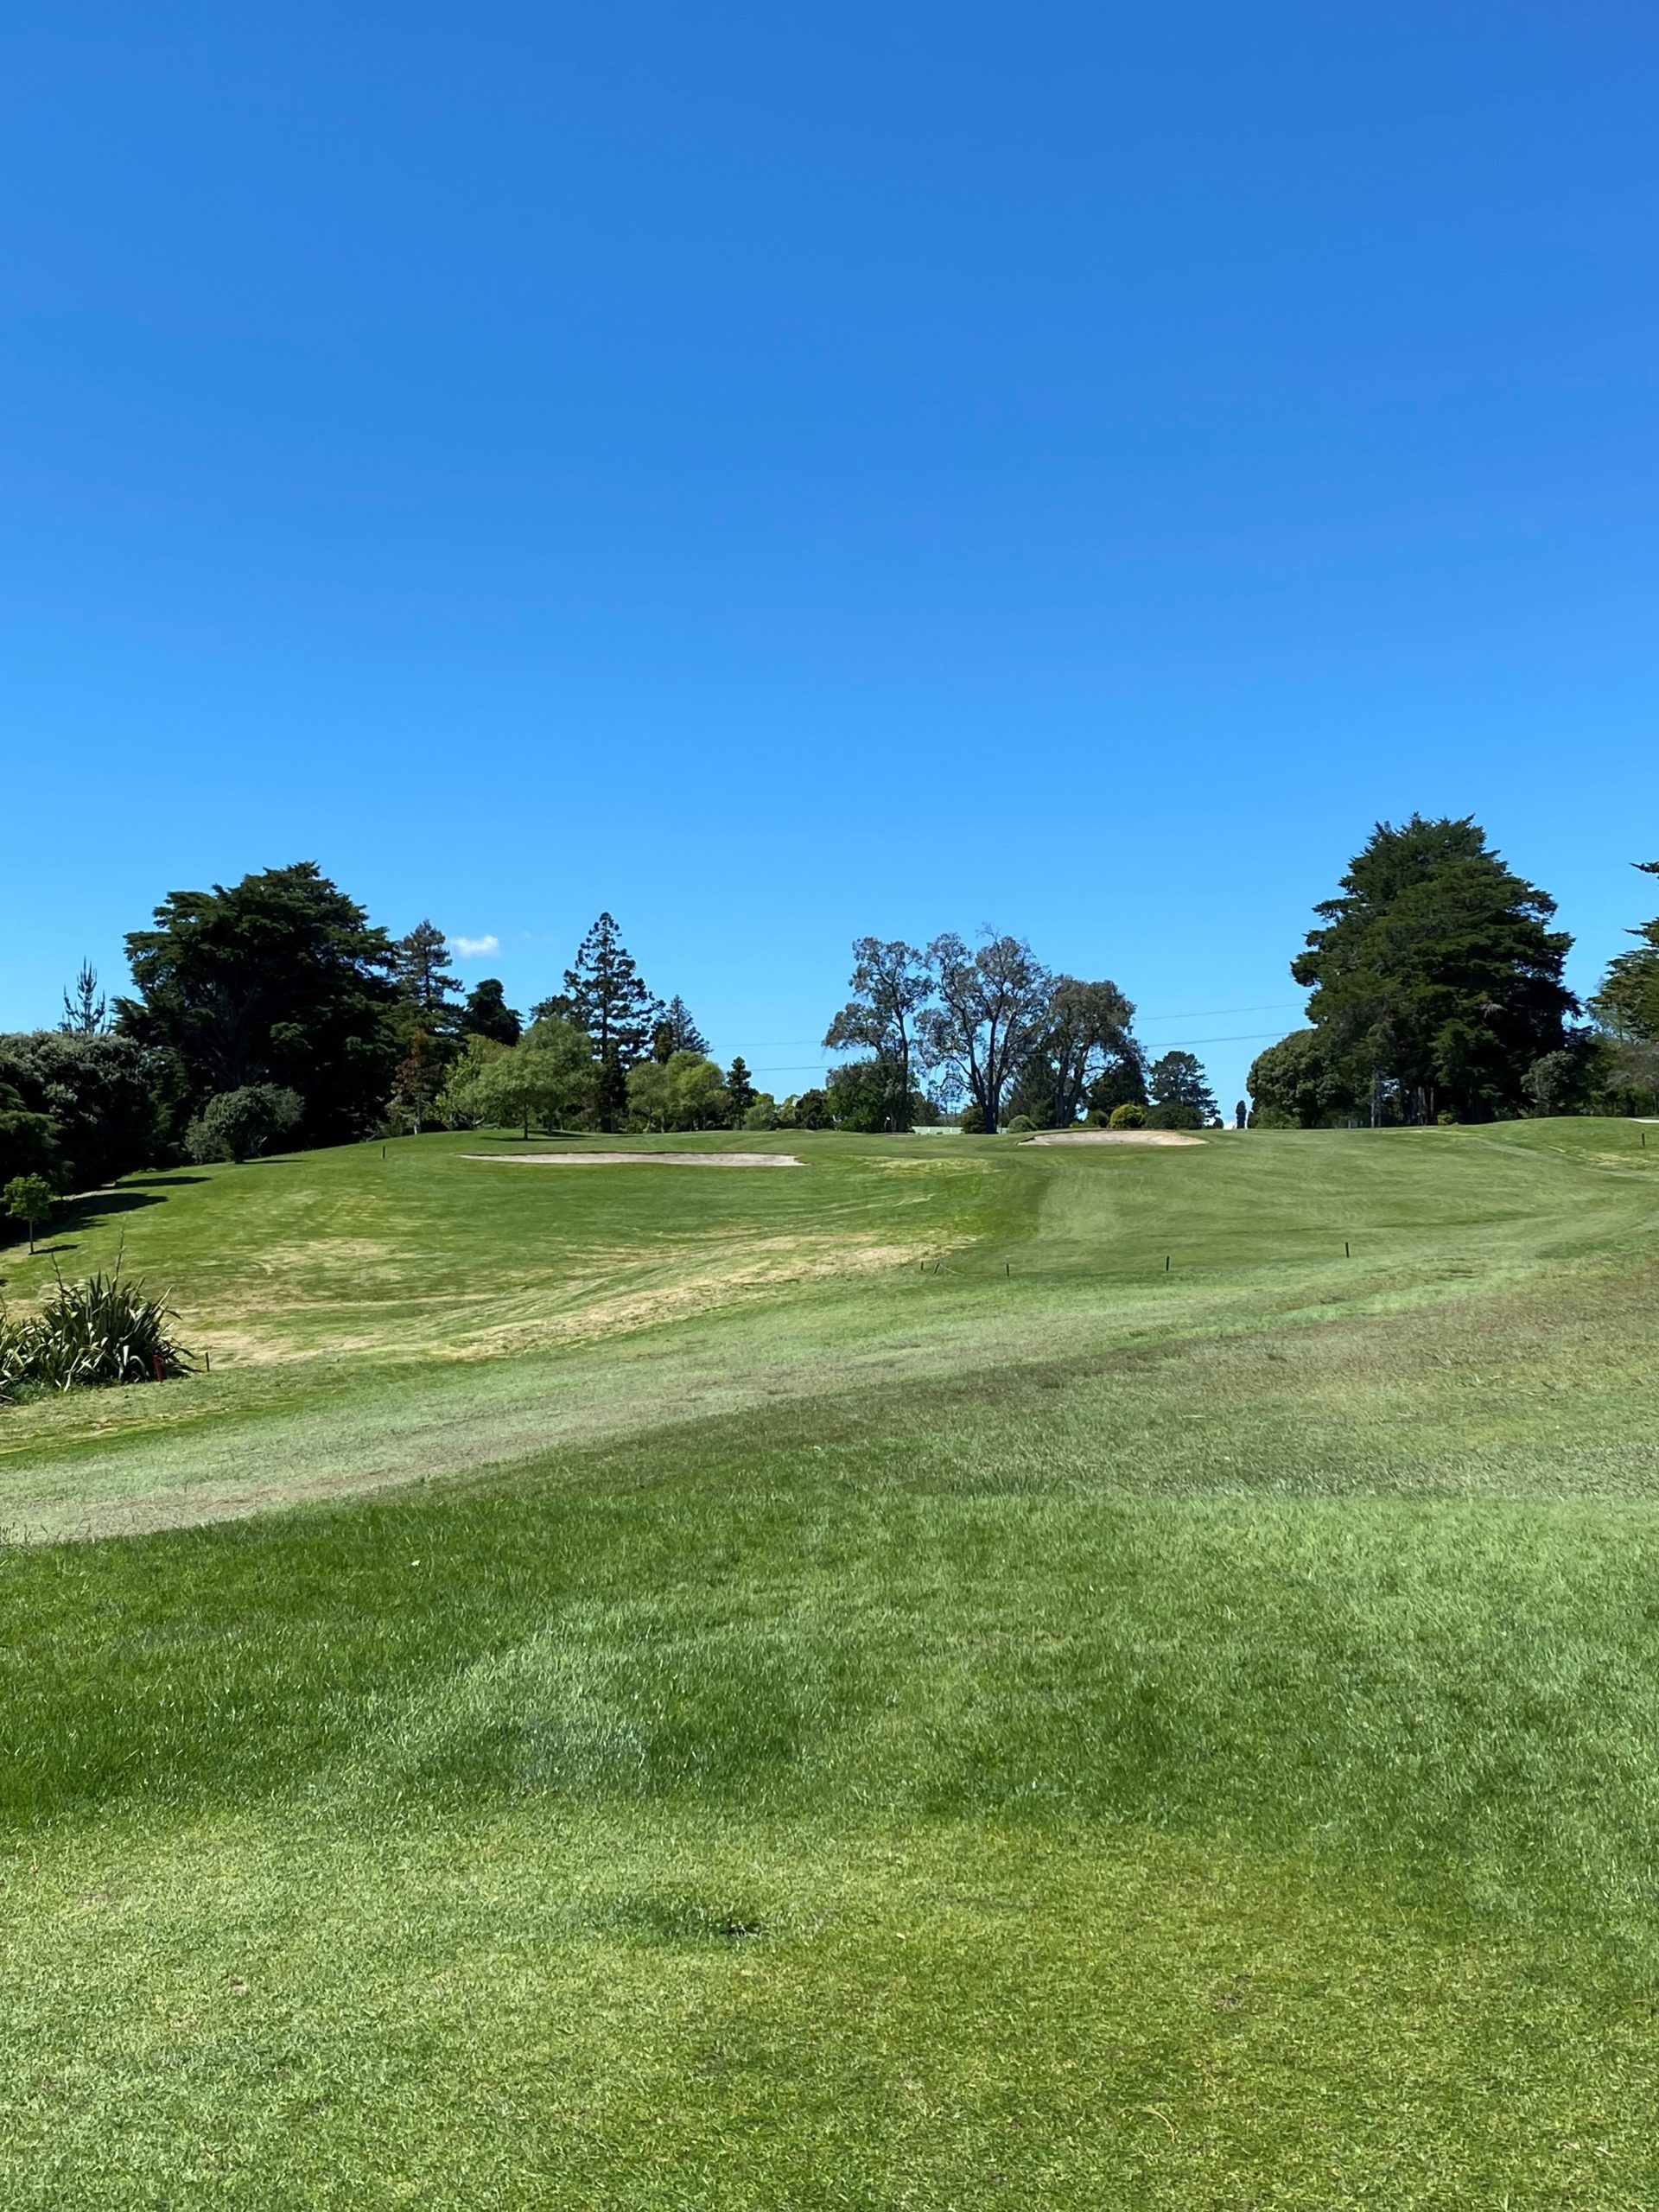

You have an option from the tee of playing to the right of the fairway bunkers or taking the direct route over the left bunker. Be aware of the bunker left front of the green.
Hole 17
Par 4 314 Meters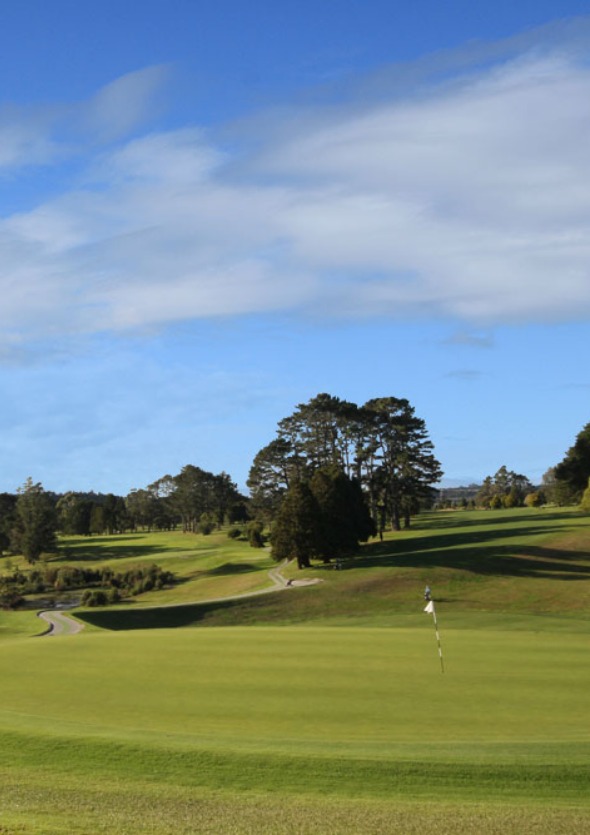

A tee shot played to the centre of the fairway will give you the option of playing your second shot into the valley below the green or laying up above the valley. The green slopes from back to front, so playing a shot through the green will be very difficult.
Hole 18
Par 5 482 Meters

The preferred line from the tee is right-centre which will take out the bunkers for the second. The green slopes right to left. An approach through the green will make par very difficult.
Hole 19
Par 4 339 Meters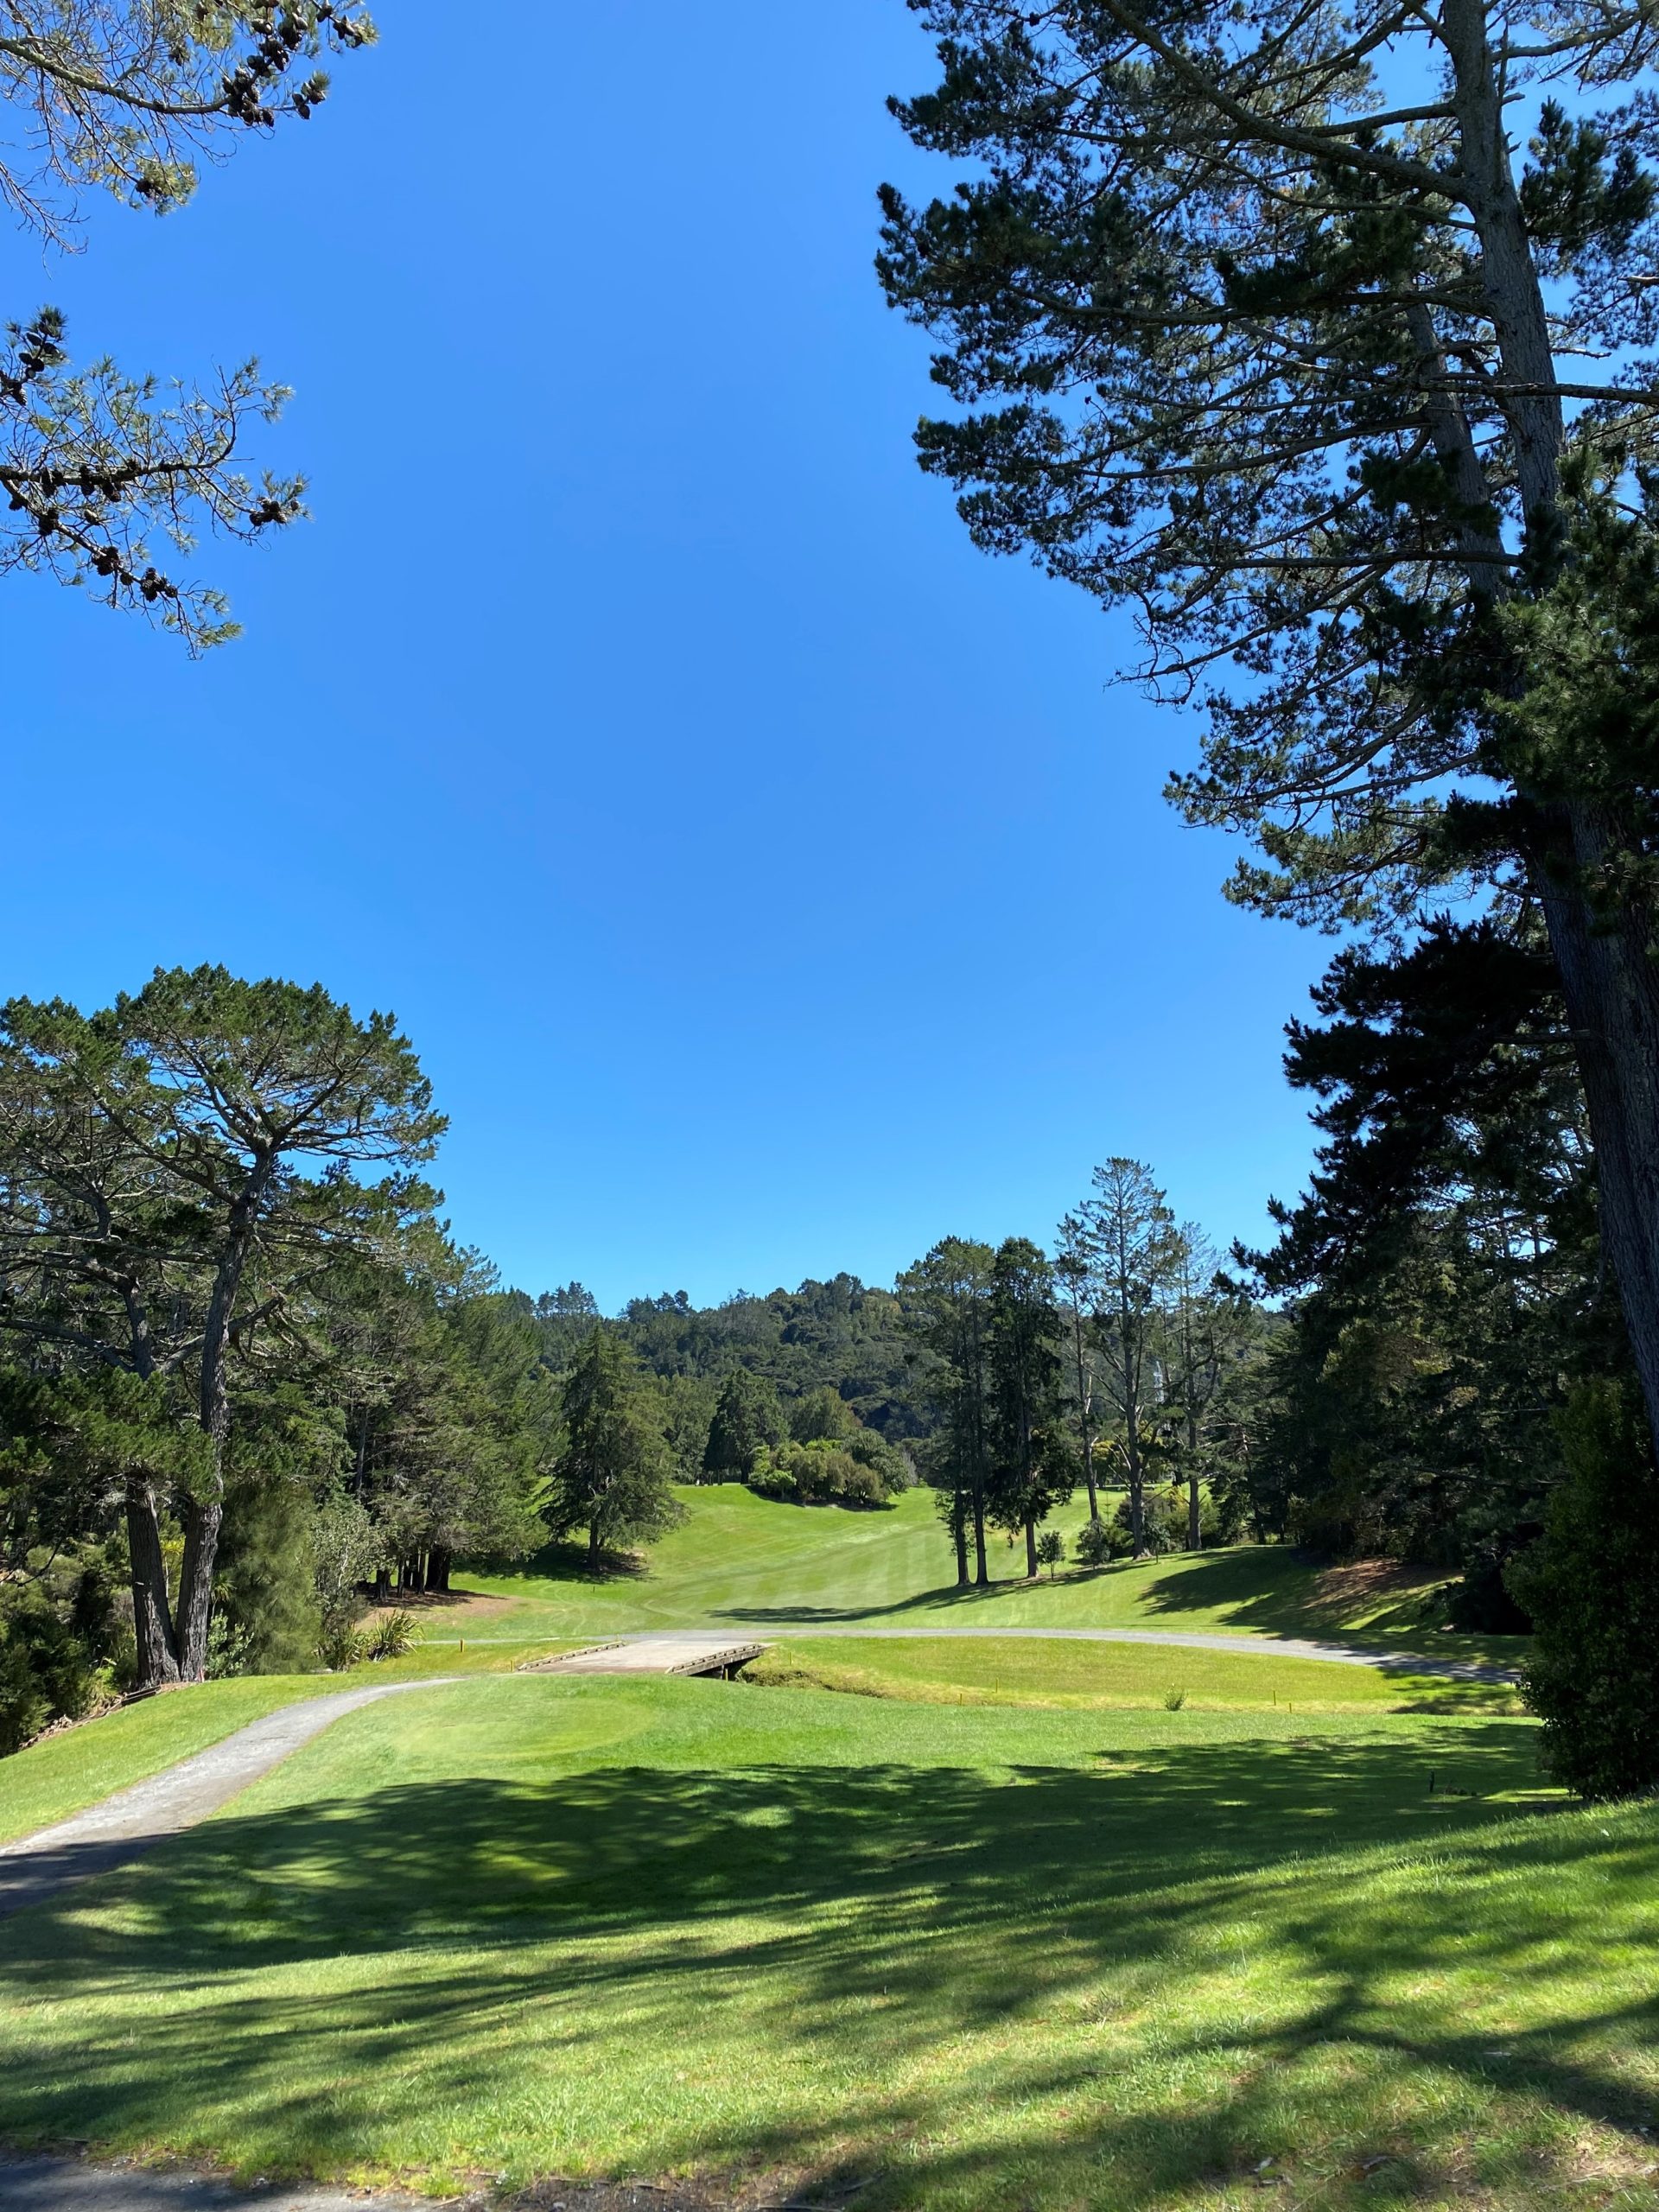

Hole 20 is one of the more demanding par-4s. The preferred alignment for the tee shot is to the left of the pine trees on the right side of the fairway. Note the steep drop from the right greenside to the penalty area. Take plenty of club for the approach.
Hole 20
Par 4 339 Meters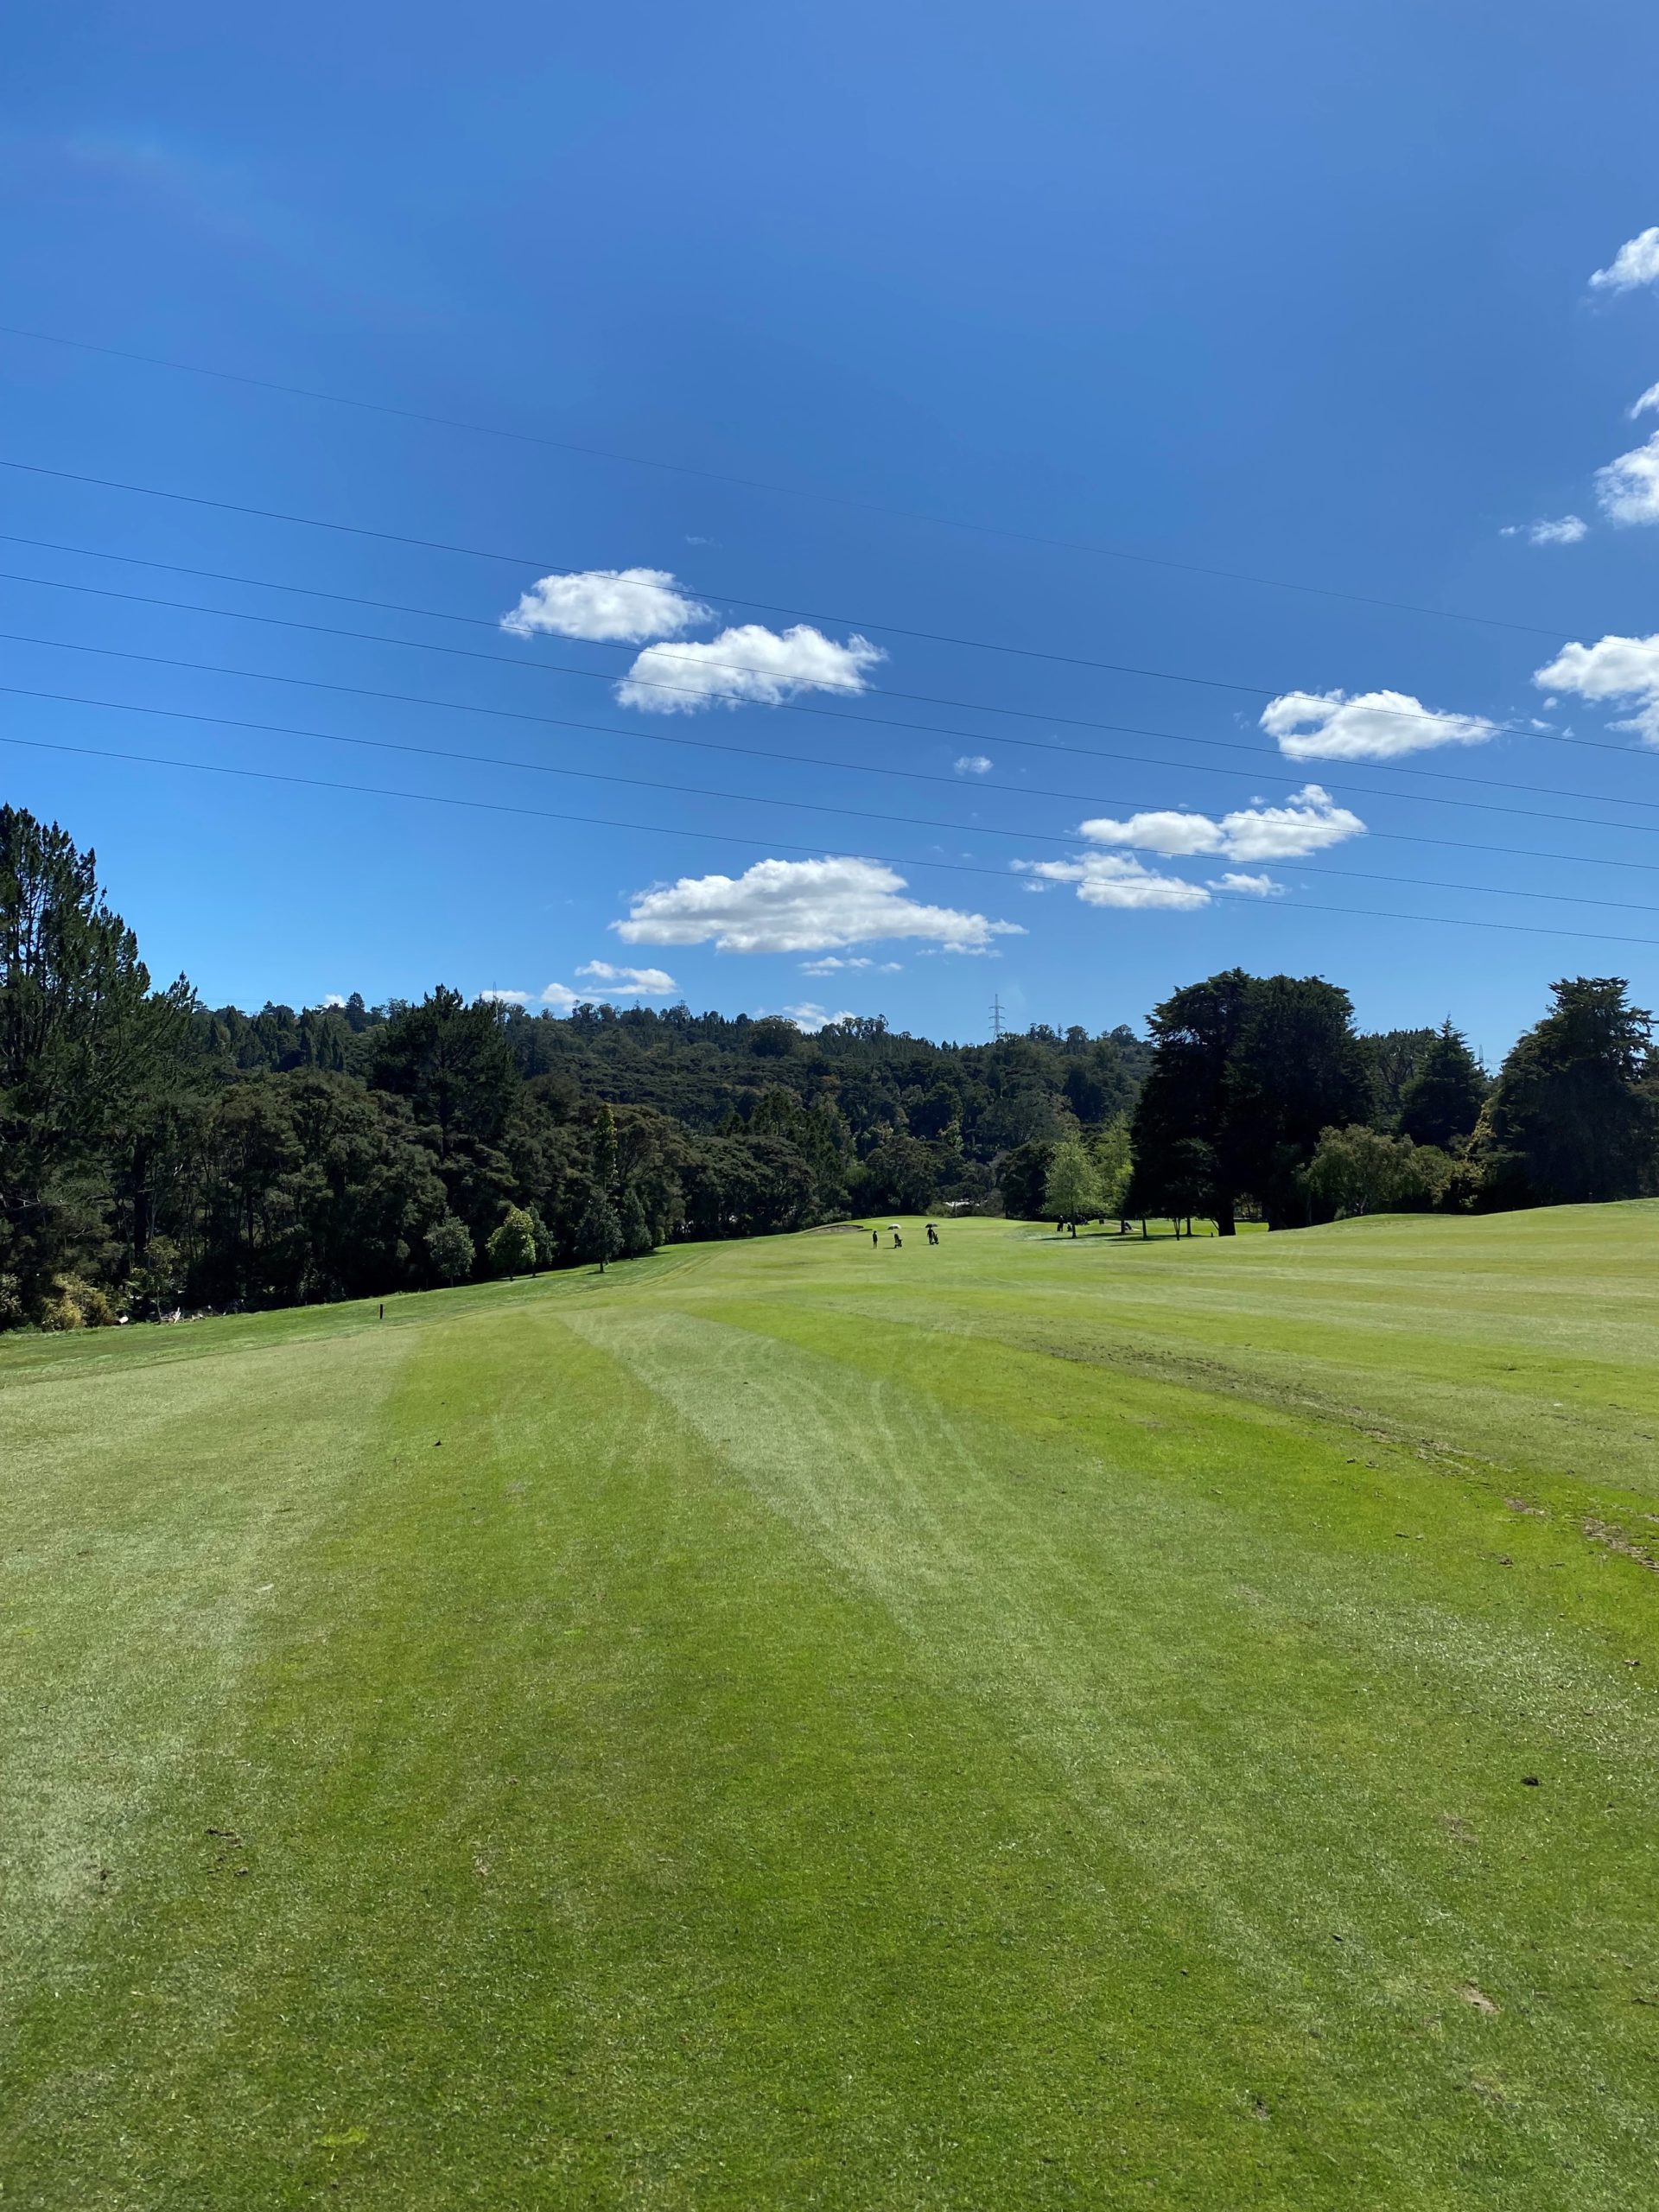

A good drive starting to the right side of the fairway will roll with the contour to the centre or left side of the fairway. Here is the best position to approach the green.
Hole 21
Par 4 327 Meters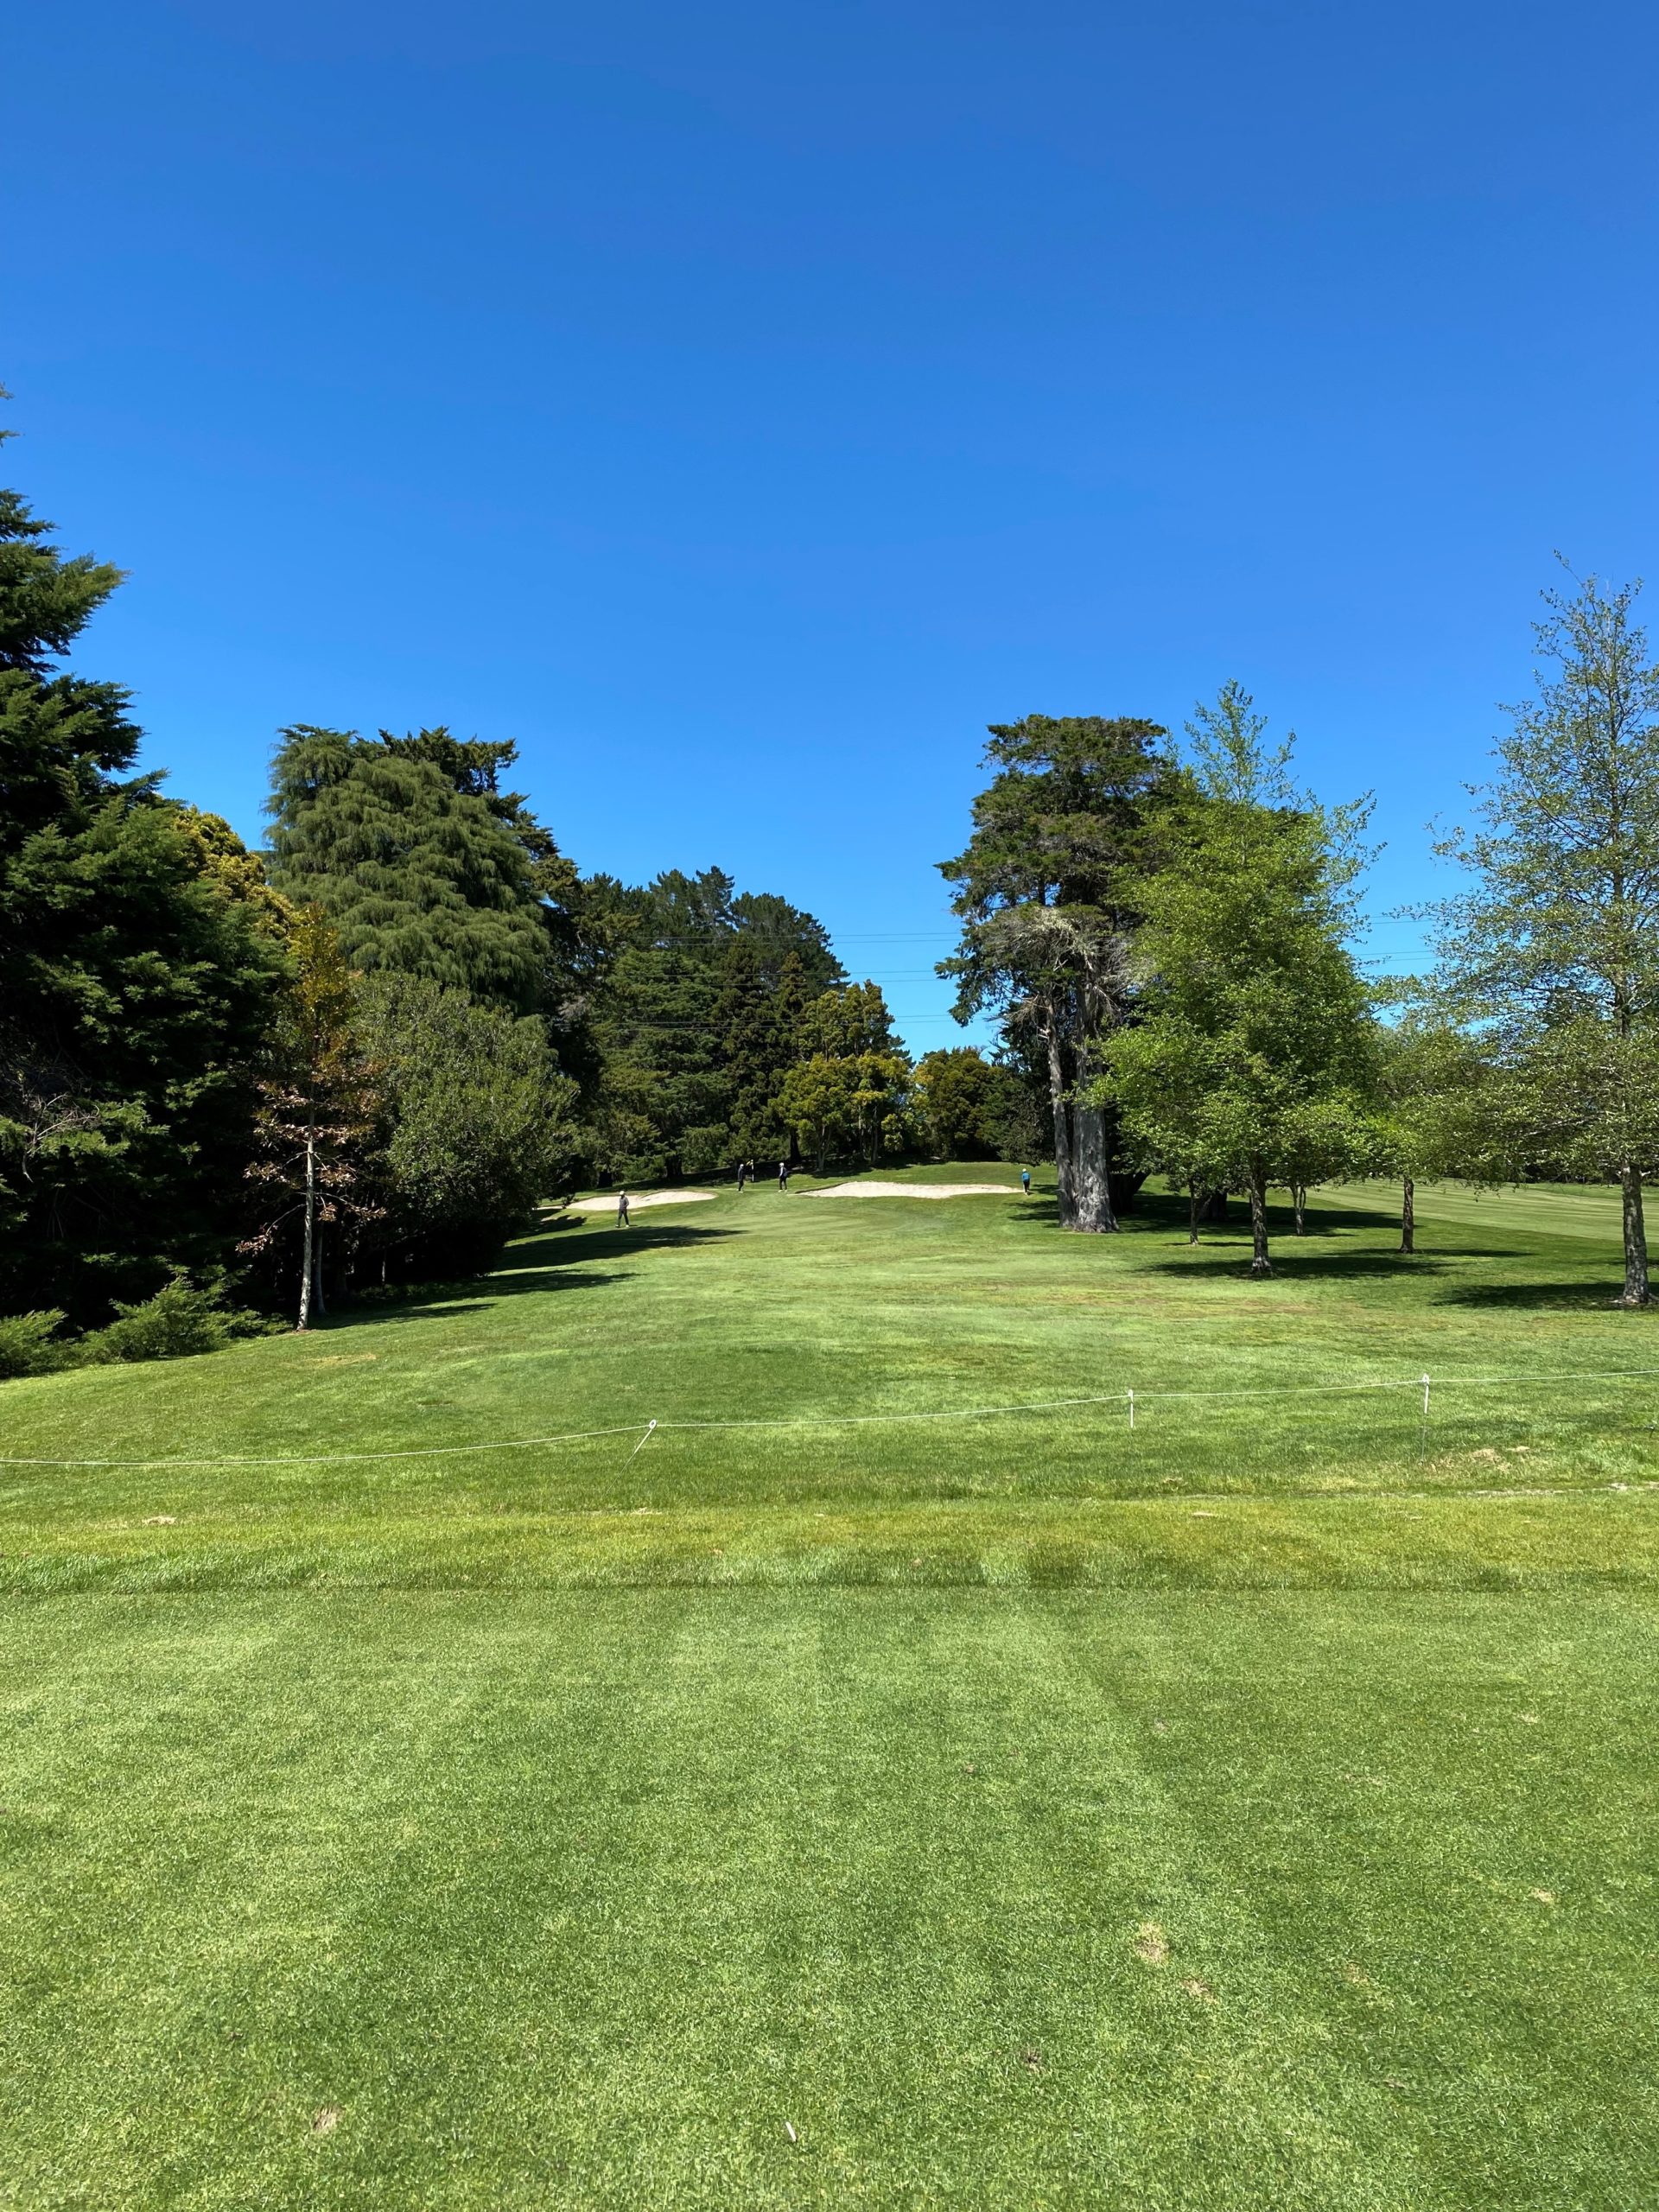
The green slopes from back to front and from right to left. The area left of the green slopes steeply away. The hole plays longer than the distance would indicate.
Hole 22
Par 3 124 Meters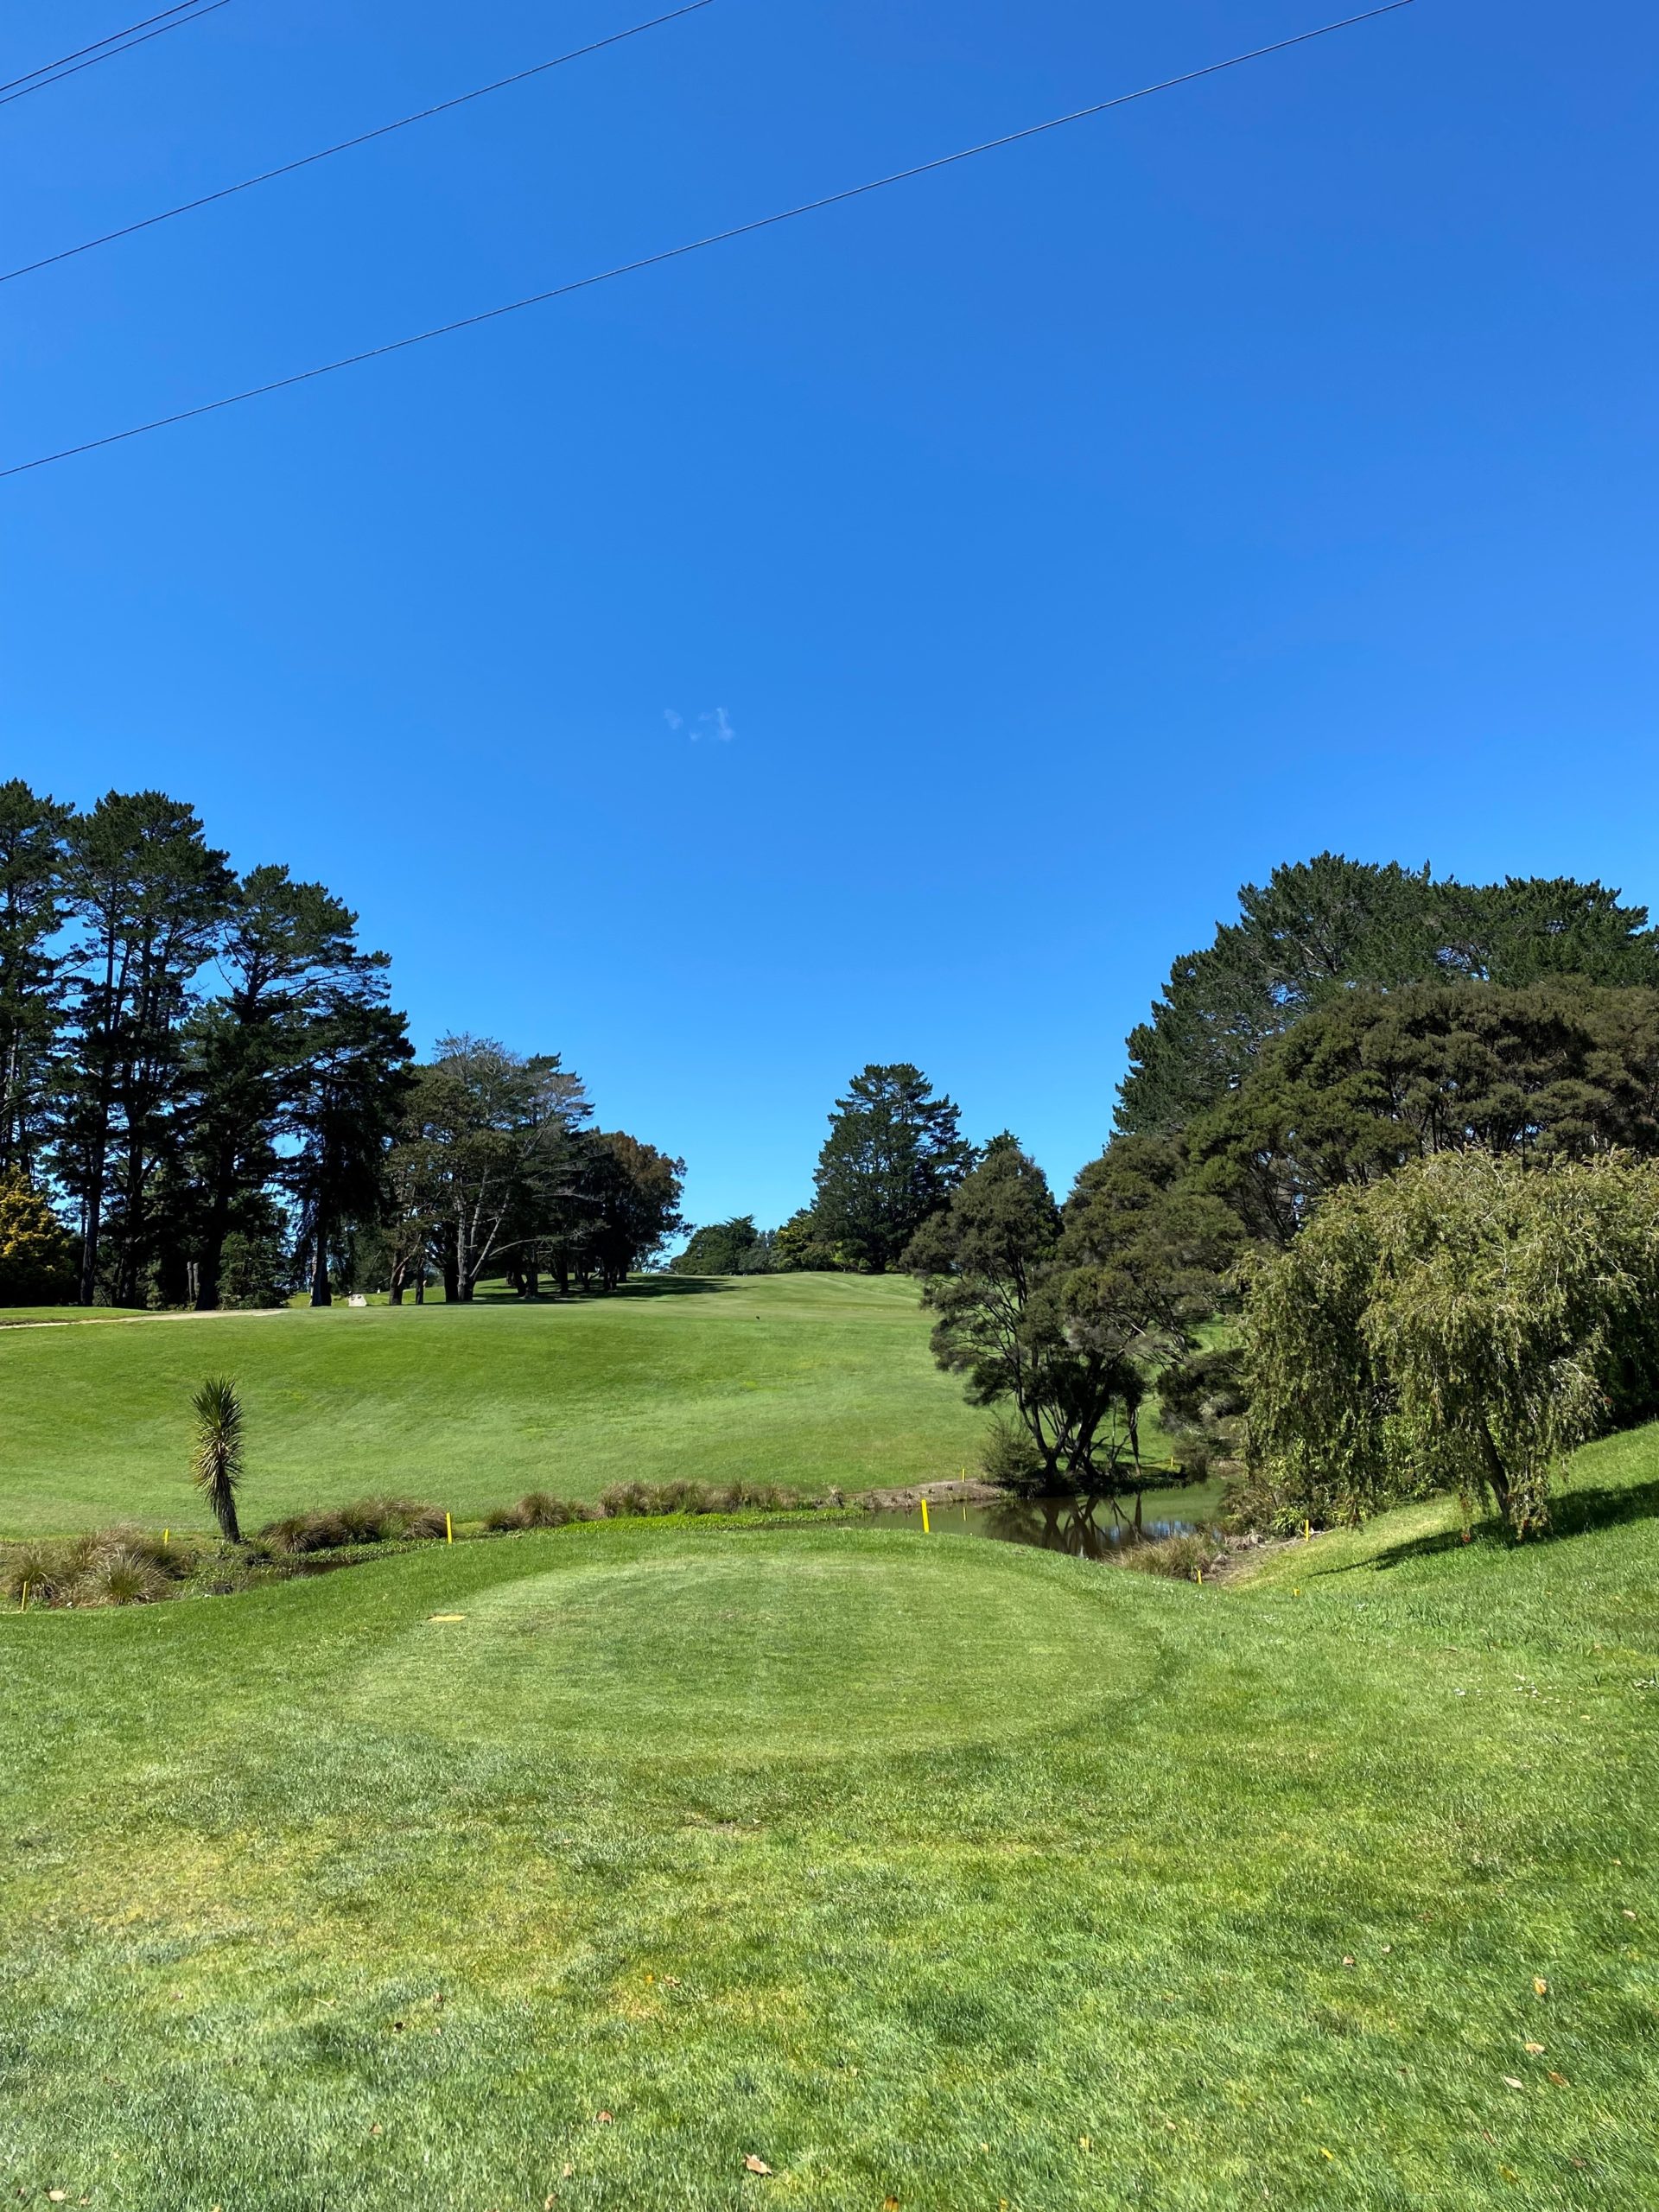

While not the longest par-5 on the course, hole 23 plays that way. Uphill for the first and second shots to a narrow fairway flanked by trees. A well-positioned second shot will help set you up for par.
Hole 23
Par 5 505 Meters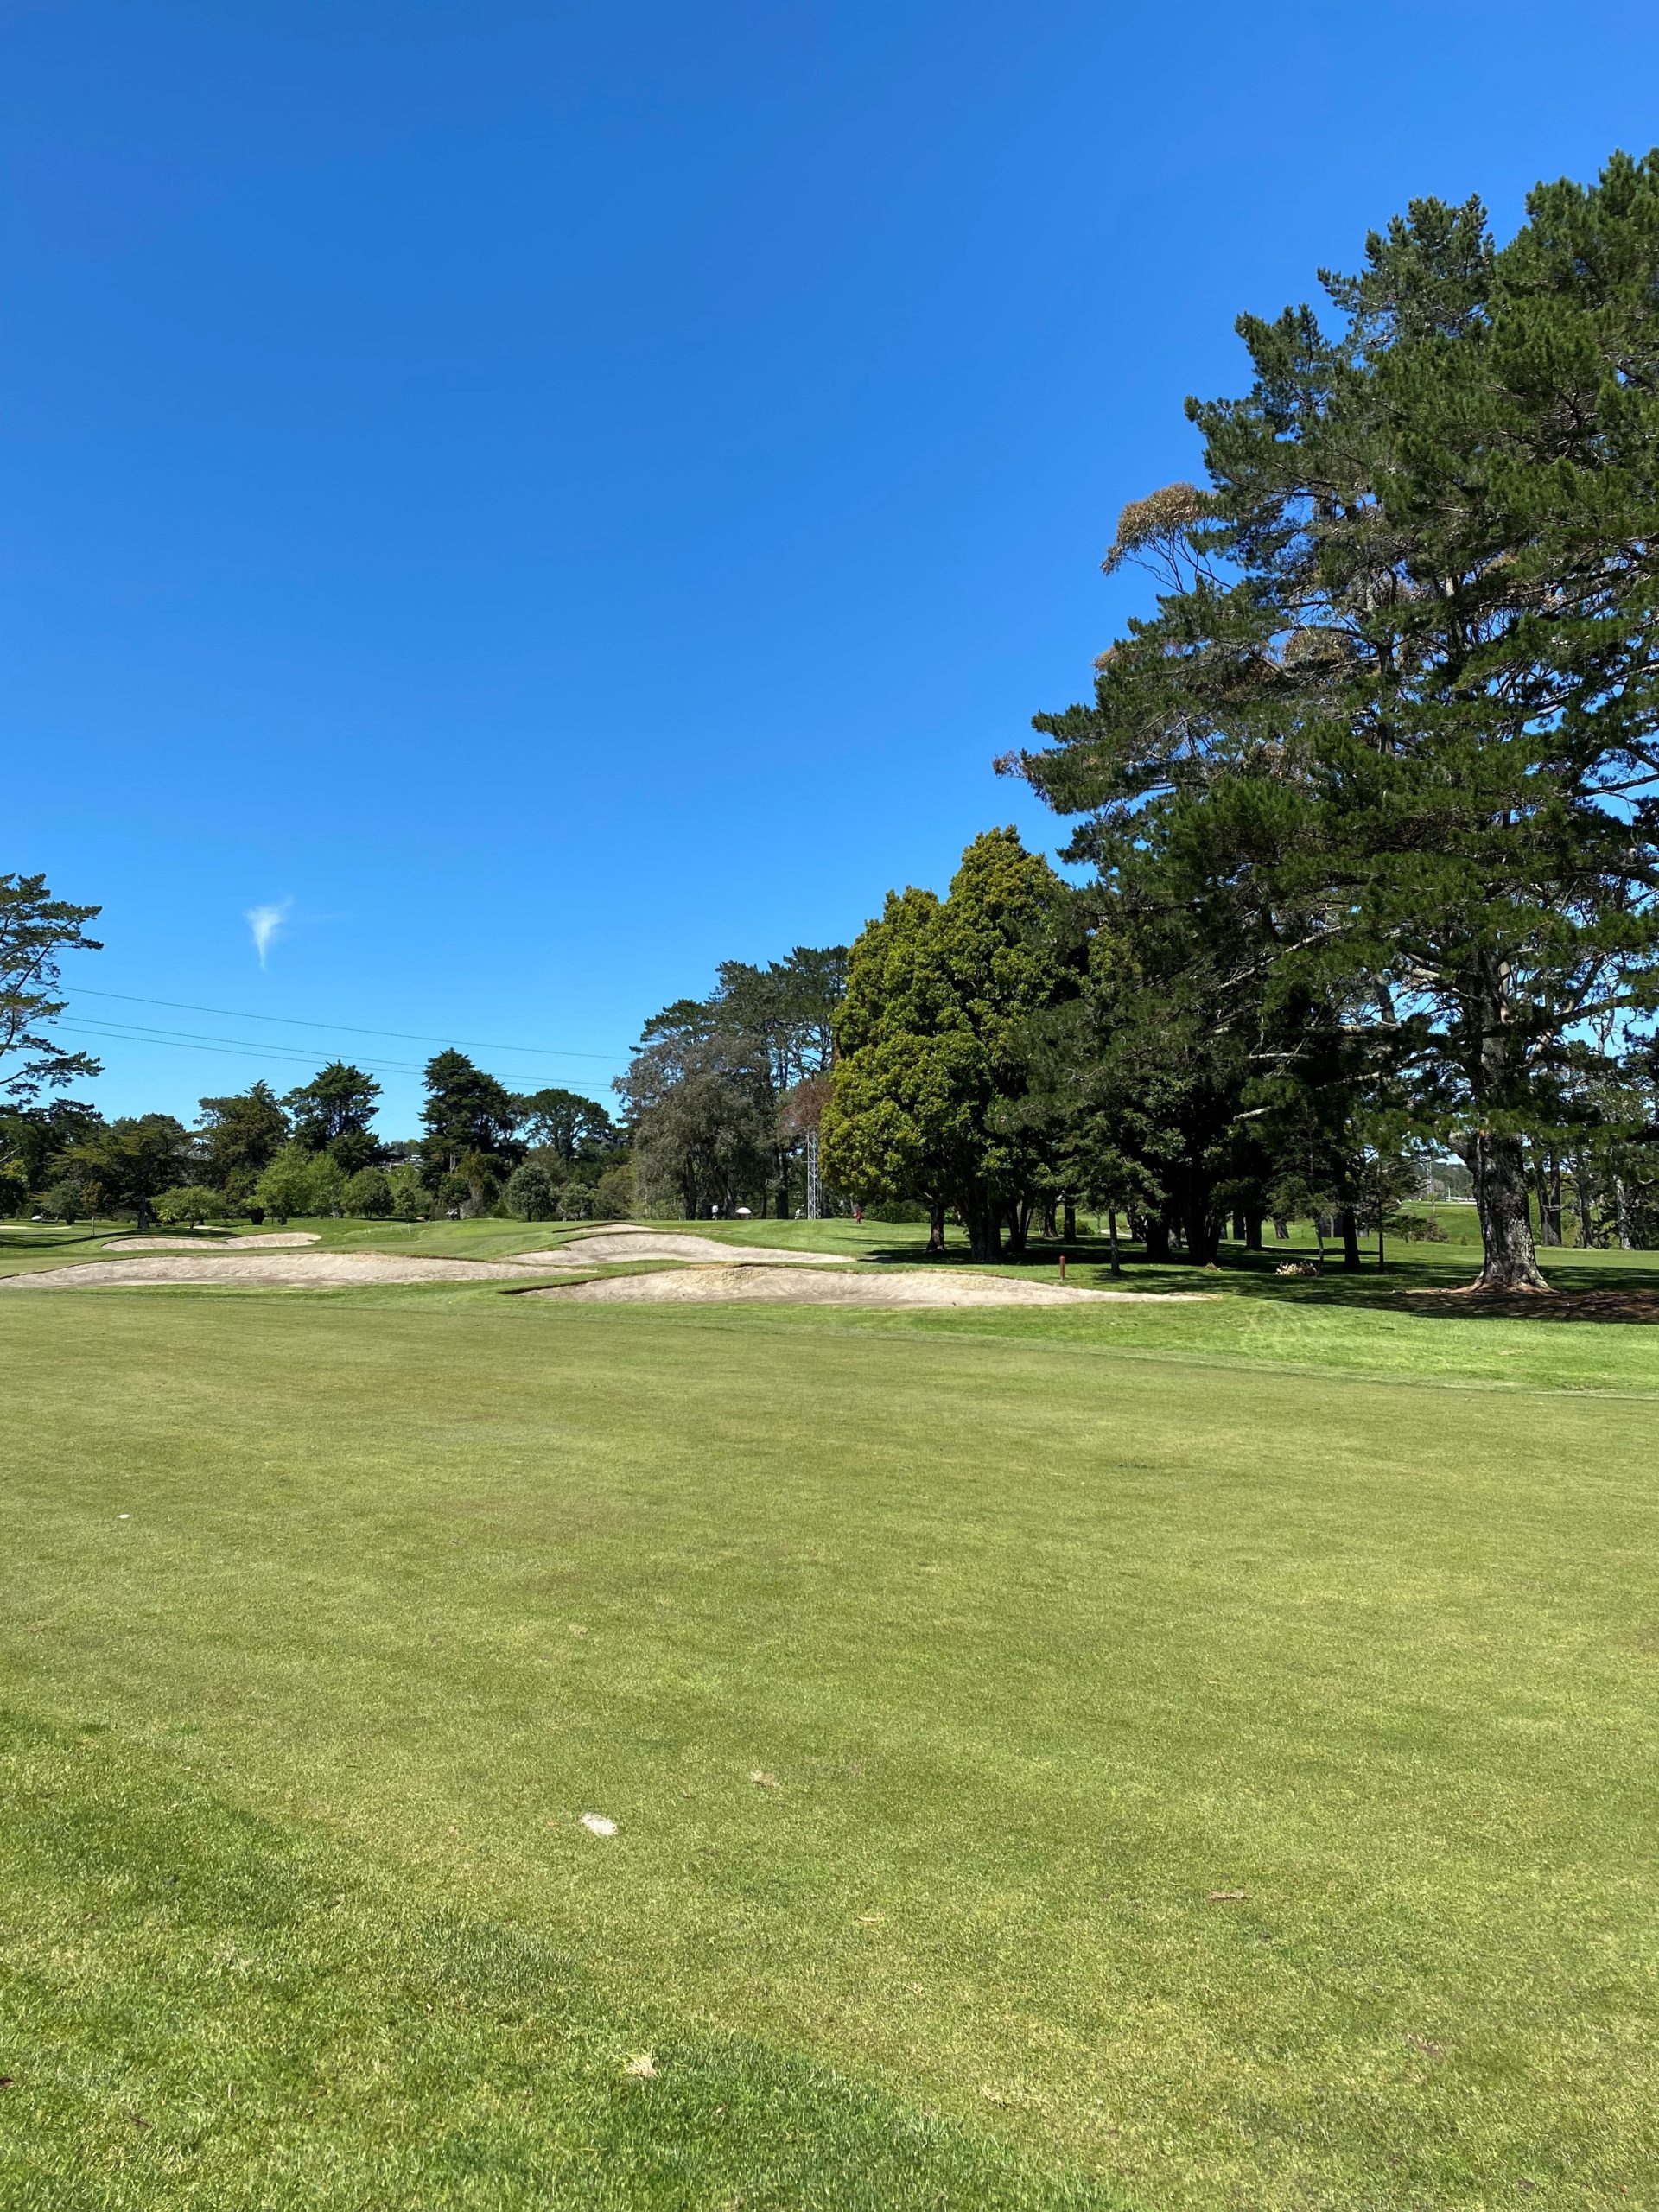

The shortest par-4 on the course but by no means the easiest. A sharp dogleg right to a green shaped like an upturned saucer makes play interesting. A well-positioned drive is a key part of playing this hole well.
Hole 24
Par 4 282 Meters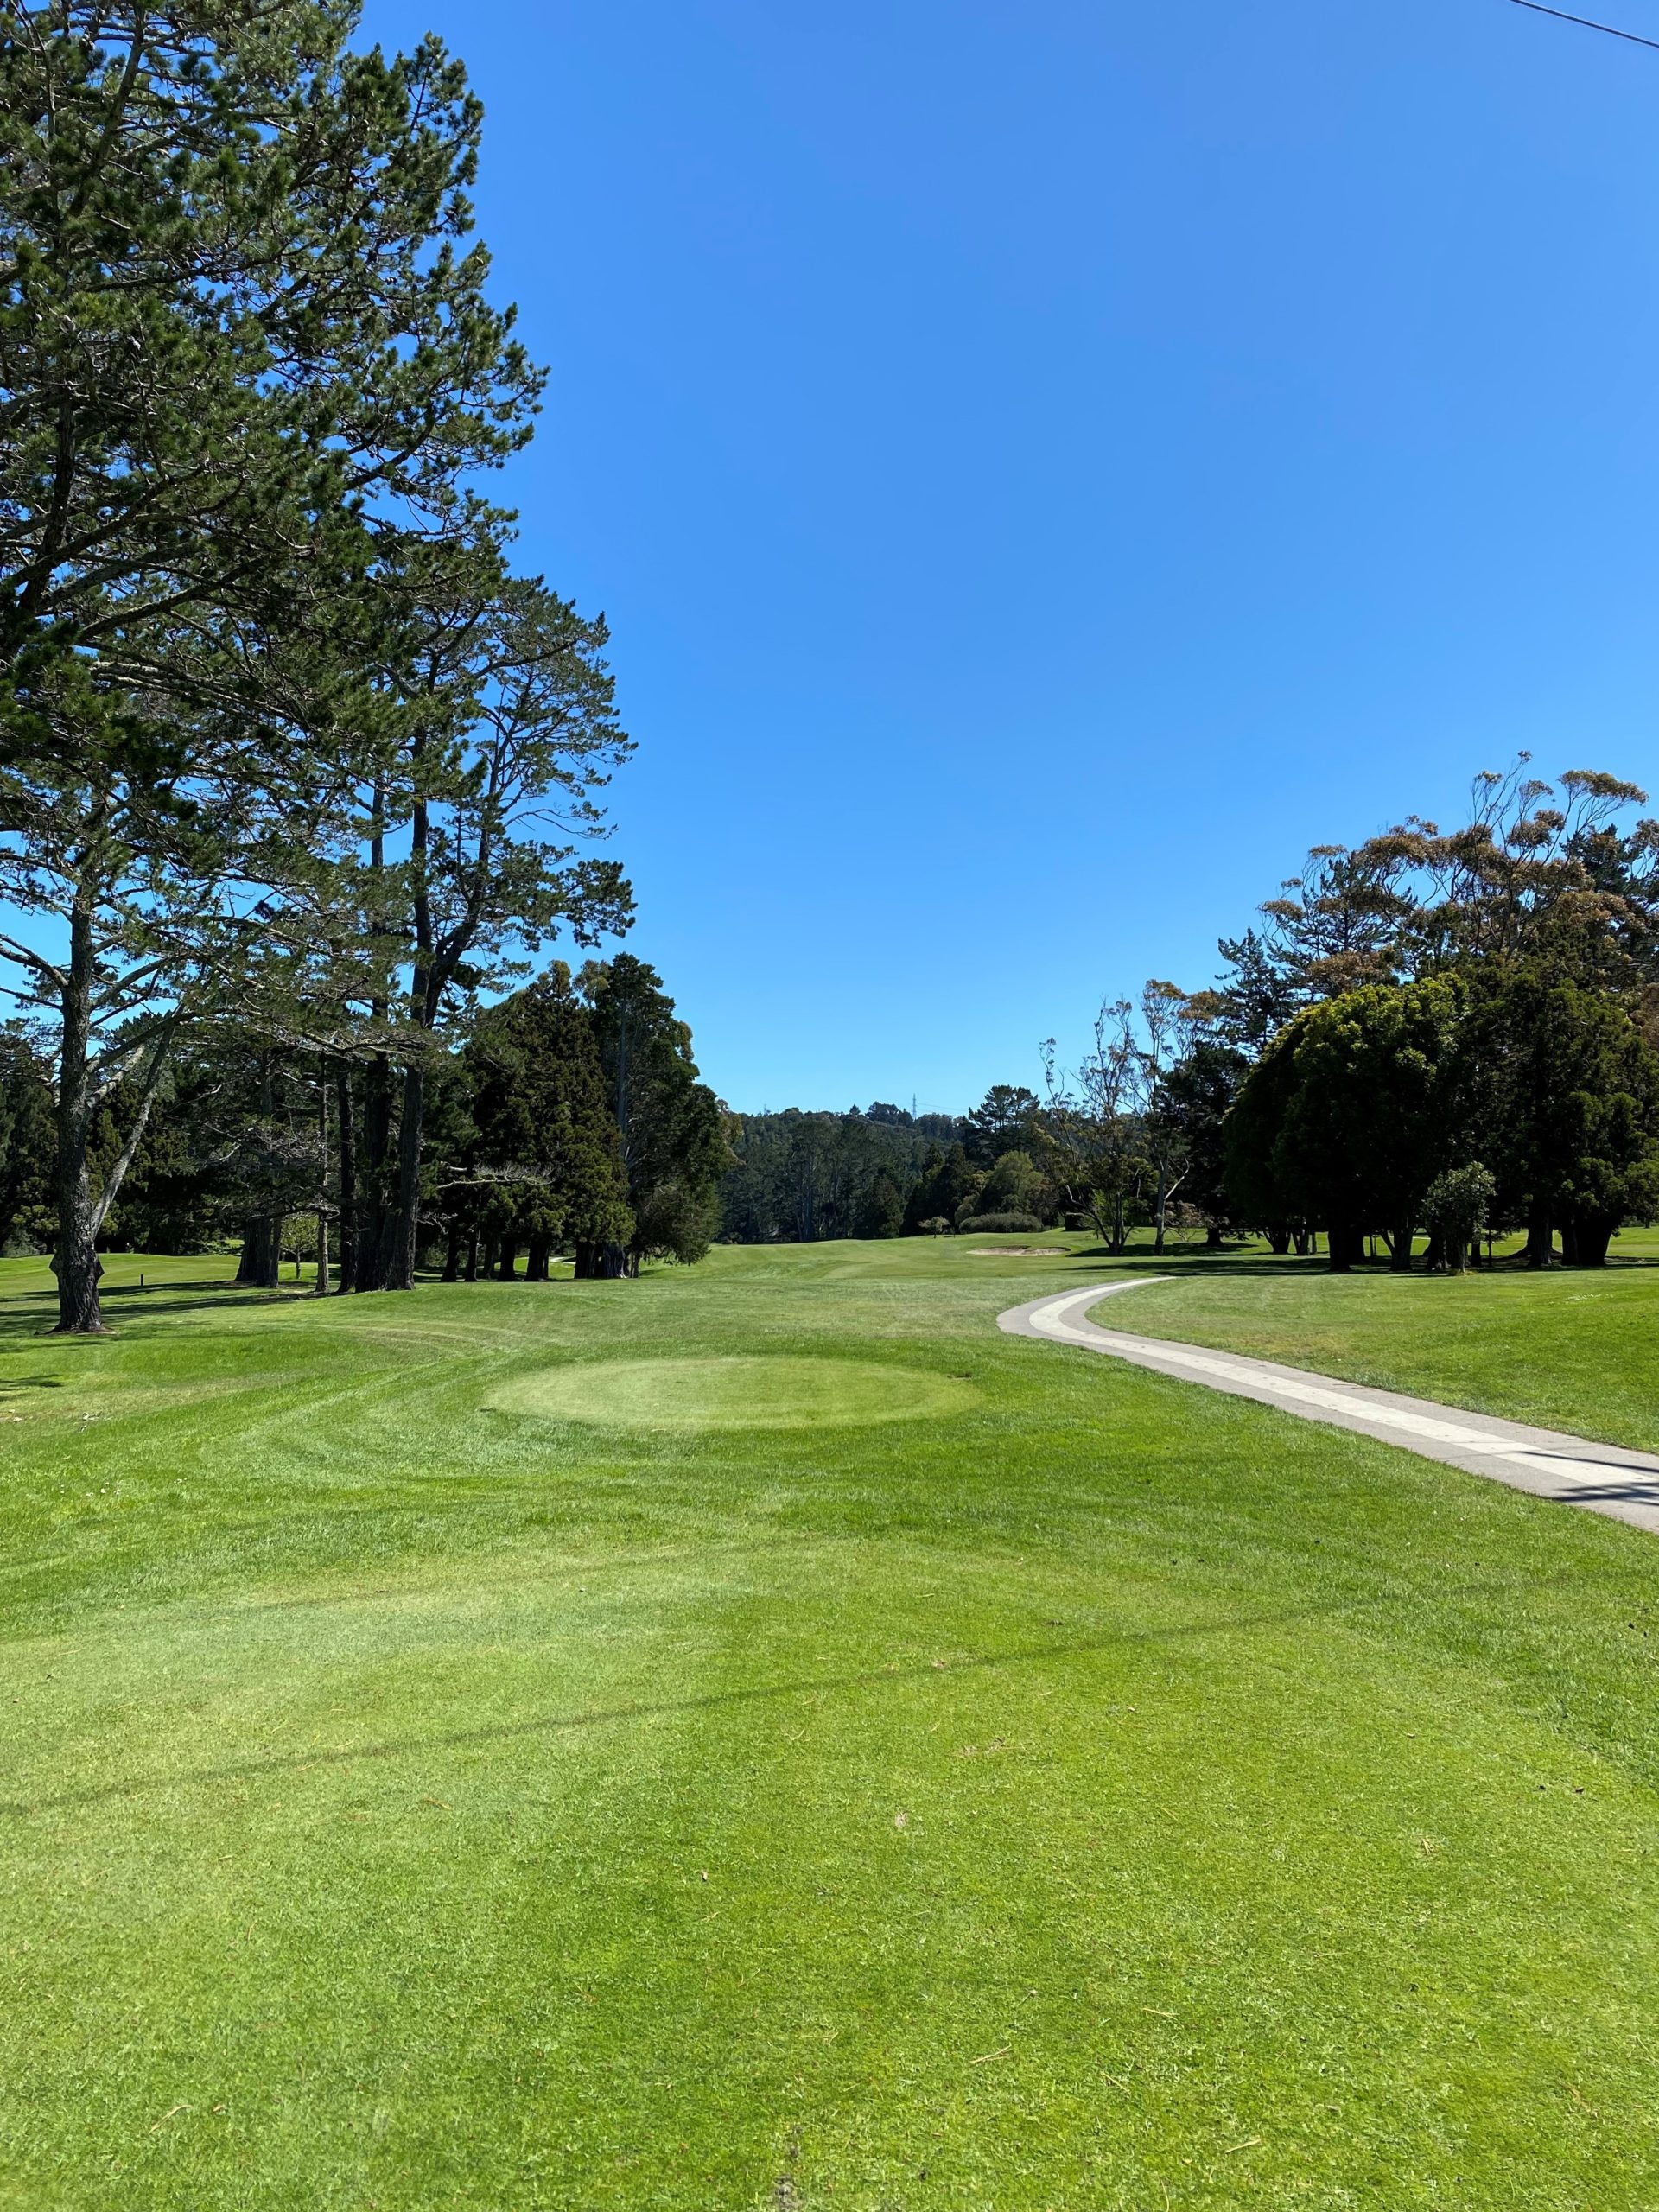
For hole 25, the preferred line from the tee is right-centre. The contour of the fairway will take the ball from right to left. The best approach line is from the left, taking the front bunker out of play. A ball played left from the tee could create difficulties.
Hole 25
Par 5 485 Meters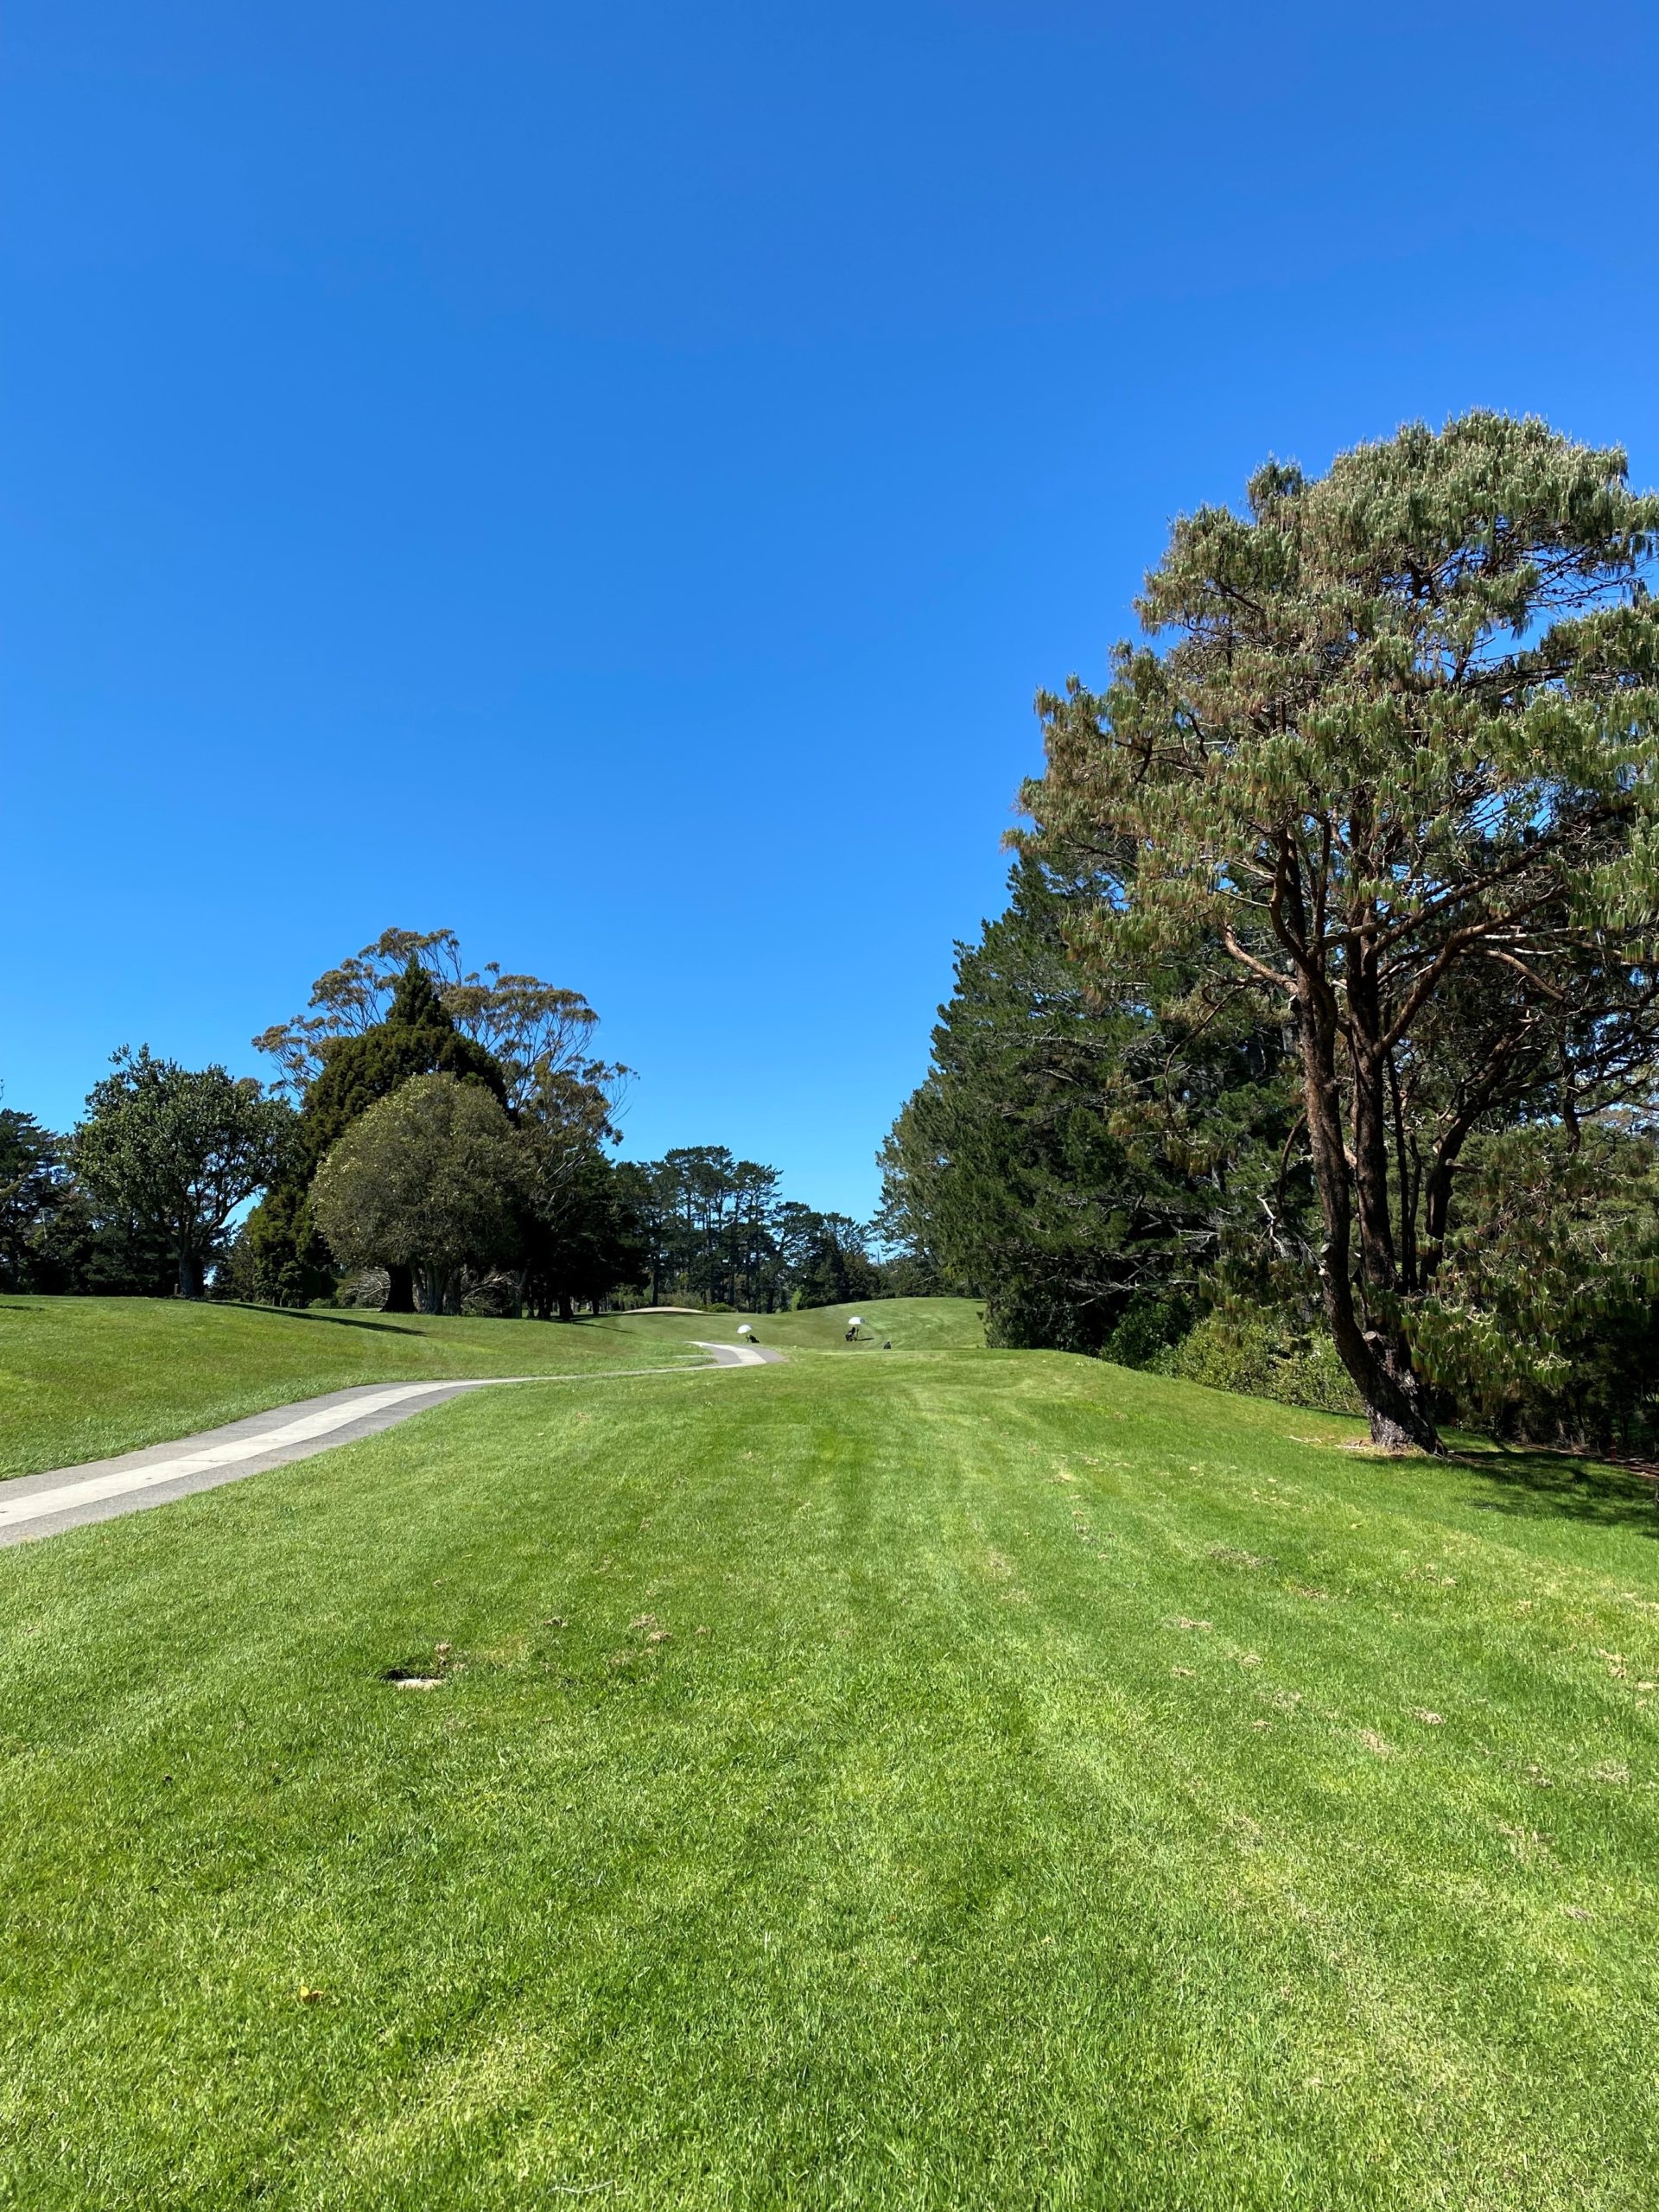
Hole 26 is the longest and most difficult par-4 on the course. Choose a line down the centre of the fairway for your tee shot. Follow this with a shot down the left for your second. In front of the green, the fairway slopes from left to right. The green slopes from left to right.
Hole 26
Par 4 417 Meters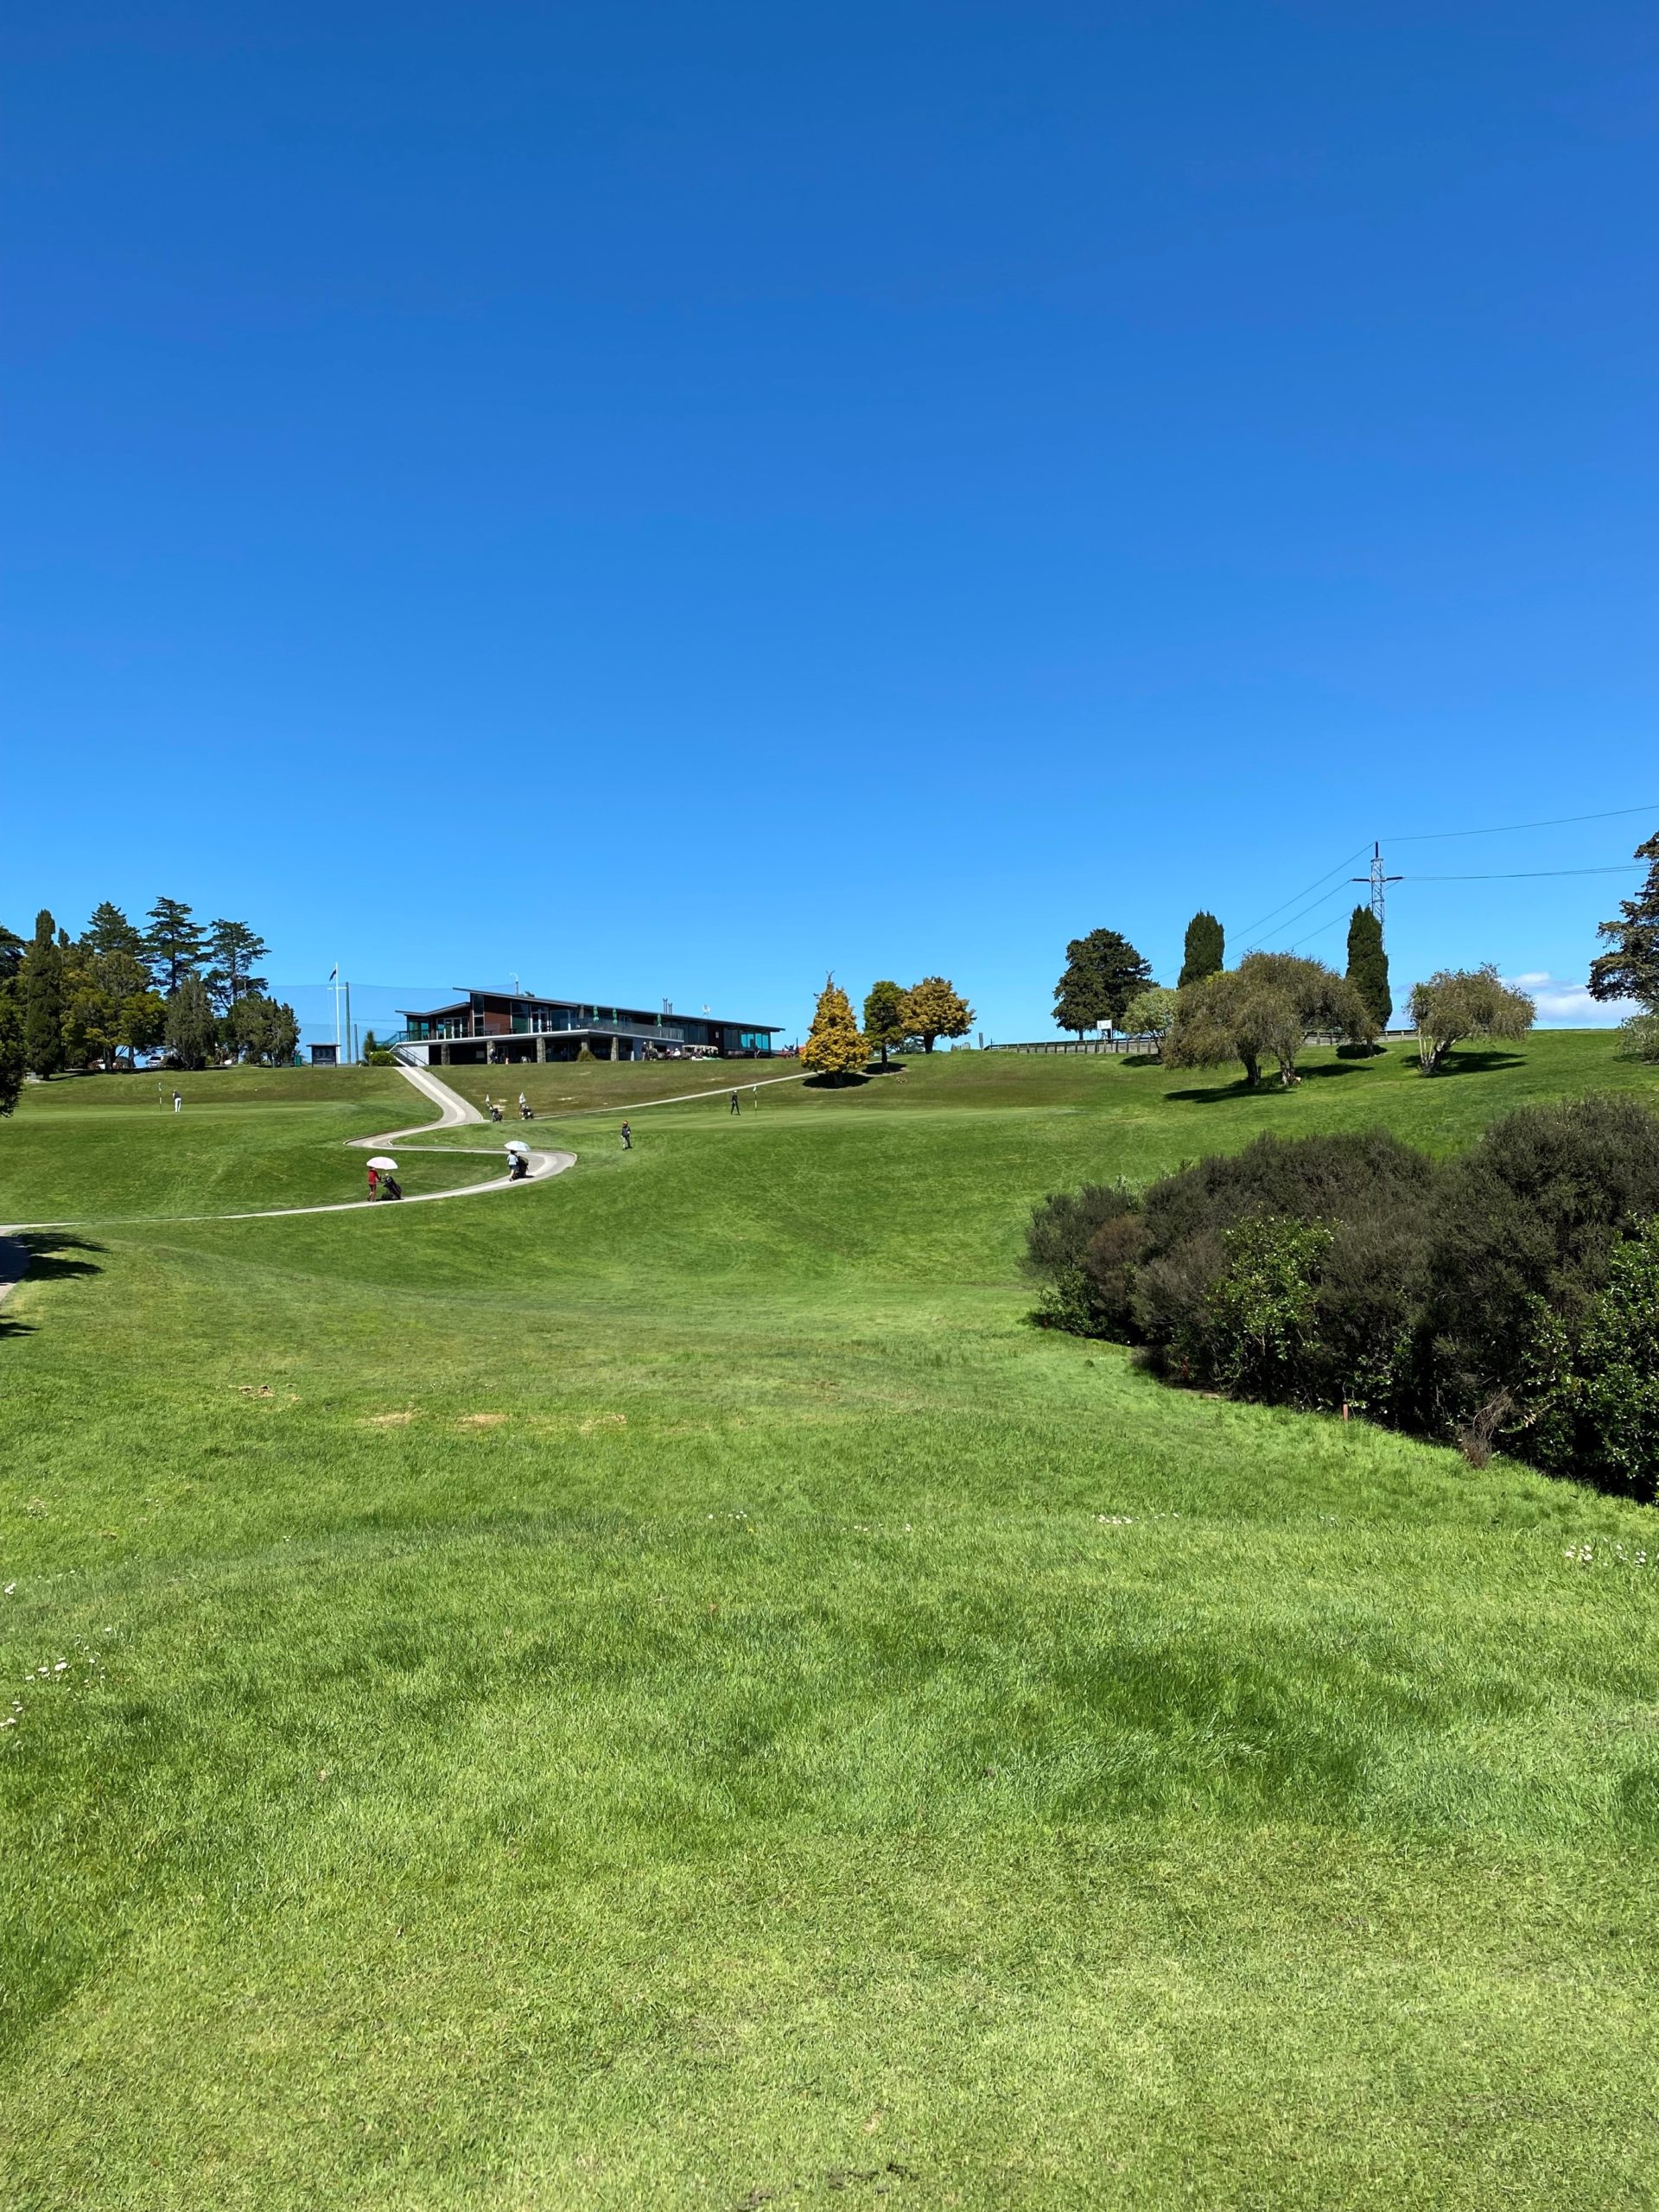

The pin placement on this large, three-tiered green will demand your club selection is critical. The green here slopes from back to front. Take enough club.